目录

[riscv-gnu-toolchain]RISCV编译环境搭建老是报错?试试gitee

收录于文集
共2篇
环境:WSL2+Ubuntu 20.04

工具链文件夹如图所示

一、下载工具链
正常步骤如下
代码块
JavaScript
自动换行
复制代码
git clone  https://github.com/riscv-collab/riscv-gnu-toolchain.git
cd riscv-gnu-toolchain
git submodule update --init --recursive
复制成功
但是在拉取子模块的时候qemu老是报错,并且科学上网也没啥用,不算快
模块连接如下
代码块
JavaScript
自动换行
复制代码
[submodule "binutils"]
	path = binutils
	url = https://sourceware.org/git/binutils-gdb.git
	branch = binutils-2_41-release-point
[submodule "gcc"]
	path = gcc
	url = https://gcc.gnu.org/git/gcc.git
	branch = releases/gcc-13
[submodule "glibc"]
	path = glibc
	url = https://sourceware.org/git/glibc.git
[submodule "dejagnu"]
	path = dejagnu
	url = https://git.savannah.gnu.org/git/dejagnu.git
	branch = master
[submodule "newlib"]
	path = newlib
	url = https://sourceware.org/git/newlib-cygwin.git
	branch = master
[submodule "gdb"]
	path = gdb
	url = https://sourceware.org/git/binutils-gdb.git
	branch = gdb-13-branch
[submodule "qemu"]
	path = qemu
	url = https://gitlab.com/qemu-project/qemu.git
[submodule "musl"]
	path = musl
	url = https://git.musl-libc.org/git/musl
	branch = master
[submodule "spike"]
	path = spike
	url = https://github.com/riscv-software-src/riscv-isa-sim.git
	branch = master
[submodule "pk"]
	path = pk
	url = https://github.com/riscv-software-src/riscv-pk.git
	branch = master
[submodule "llvm"]
	path = llvm
	url = https://github.com/llvm/llvm-project.git
	branch = release/17.x
复制成功
这里我们采用gitee下载,夹杂着部分github因为文件比较小,github下起来也比较快,并且都是master分支,不用切换
代码块
JavaScript
自动换行
复制代码
git clone  https://github.com/riscv-collab/riscv-gnu-toolchain.git
cd riscv-gnu-toolchain
git clone -b binutils-2_41-release-point https://gitee.com/mirrors/binutils-gdb.git binutils
git clone https://sourceware.org/git/glibc.git glibc
git clone https://git.savannah.gnu.org/git/dejagnu.git dejagnu
git clone -b  releases/gcc-13  https://gitee.com/mirrors/gcc.git gcc
git clone https://sourceware.org/git/newlib-cygwin.git newlib
git clone -b gdb-13-branch https://gitee.com/mirrors/binutils-gdb.git gdb
git clone https://github.com/riscv-software-src/riscv-isa-sim.git spike
git clone https://github.com/riscv-software-src/riscv-pk.git pk
git clone -b release/17.x https://gitee.com/mirrors/LLVM.git llvm
git clone https://git.musl-libc.org/git/musl musl
git clone  https://gitee.com/mirrors/qemu.git qemu
复制成功
二、编译工具链
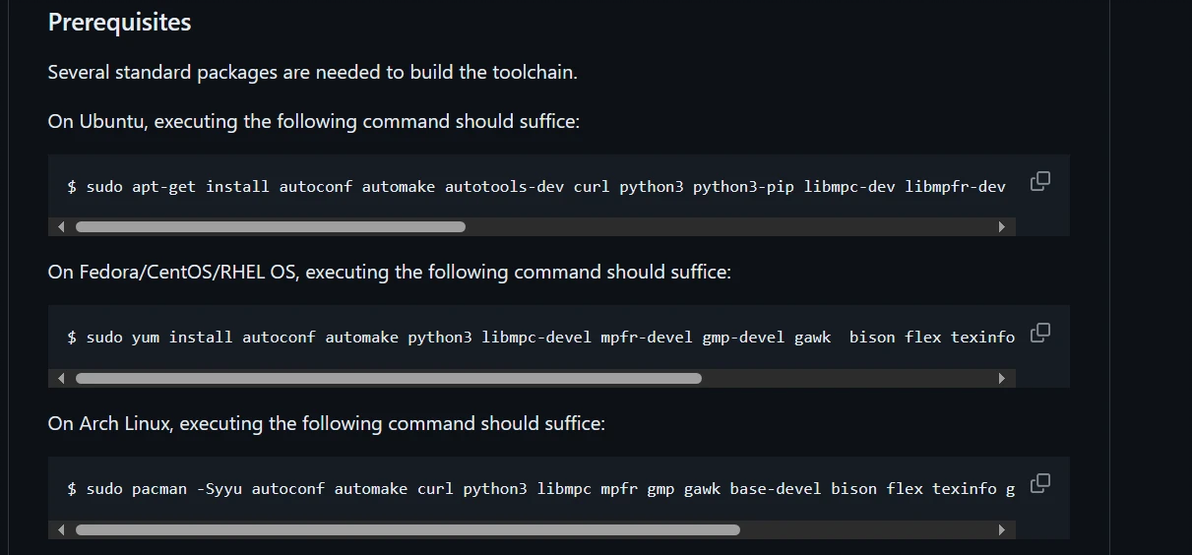
先安装一些依赖项
代码块
JavaScript
自动换行
复制代码
sudo apt-get install autoconf automake autotools-dev curl python3 python3-pip libmpc-dev libmpfr-dev libgmp-dev gawk build-essential bison flex texinfo gperf libtool patchutils bc zlib1g-dev libexpat-dev ninja-build git cmake libglib2.0-dev复制成功
在bashrc中添加

在工具链文件夹下面创建build文件夹,cd进去
mkdir build
cd build
执行如下命令(编译riscv32gc double精度浮点数)
代码块
JavaScript
自动换行
复制代码
../configure --prefix=$RISCV --with-arch=rv32gc --with-abi=ilp32d复制成功
make -jN就可以了(N根据自己电脑定)
三、安装qemu检测工具链
cd qemu
mkdir build
之后安装依赖项
代码块
JavaScript
自动换行
复制代码
# 安装编译所需的依赖包
sudo apt install autoconf automake autotools-dev curl libmpc-dev libmpfr-dev libgmp-dev \
              gawk build-essential bison flex texinfo gperf libtool patchutils bc \
              zlib1g-dev libexpat-dev pkg-config  libglib2.0-dev libpixman-1-dev git tmux python3
复制成功
之后configure一下编译,这里编译riscv32
代码块
JavaScript
自动换行
复制代码
./configure --target-list=riscv32-softmmu,riscv32-linux-user
make -j$(nproc)
复制成功
代码块
JavaScript
自动换行
复制代码
# 注意 $HOME 是 Linux 自动设置的表示你家目录的环境变量,你也可以根据实际位置灵活调整
export PATH="$HOME/xxxxx/qemu/build/:$PATH"
export PATH="$HOME/xxxxx/qemu/build/riscv32-softmmu:$PATH"
export PATH="$HOME/xxxxx/qemu/build/riscv32-linux-user:$PATH"
复制成功
结果如下

检测工具链
touch hello_riscv.c
vim hello_riscv.c
代码块
JavaScript
自动换行
复制代码
#include <stdio.h>
int main()
{
	printf("Hello,RISCV!\n");
	return 0;
}
复制成功
riscv32-unknown-elf-gcc hello_riscv.c -O hello_riscv
qemu-riscv32 hello_riscv
之后就会打印 Hello,RISCV!
本文为我原创,未经授权禁止转载
cv28486387
分享至
投诉或建议
