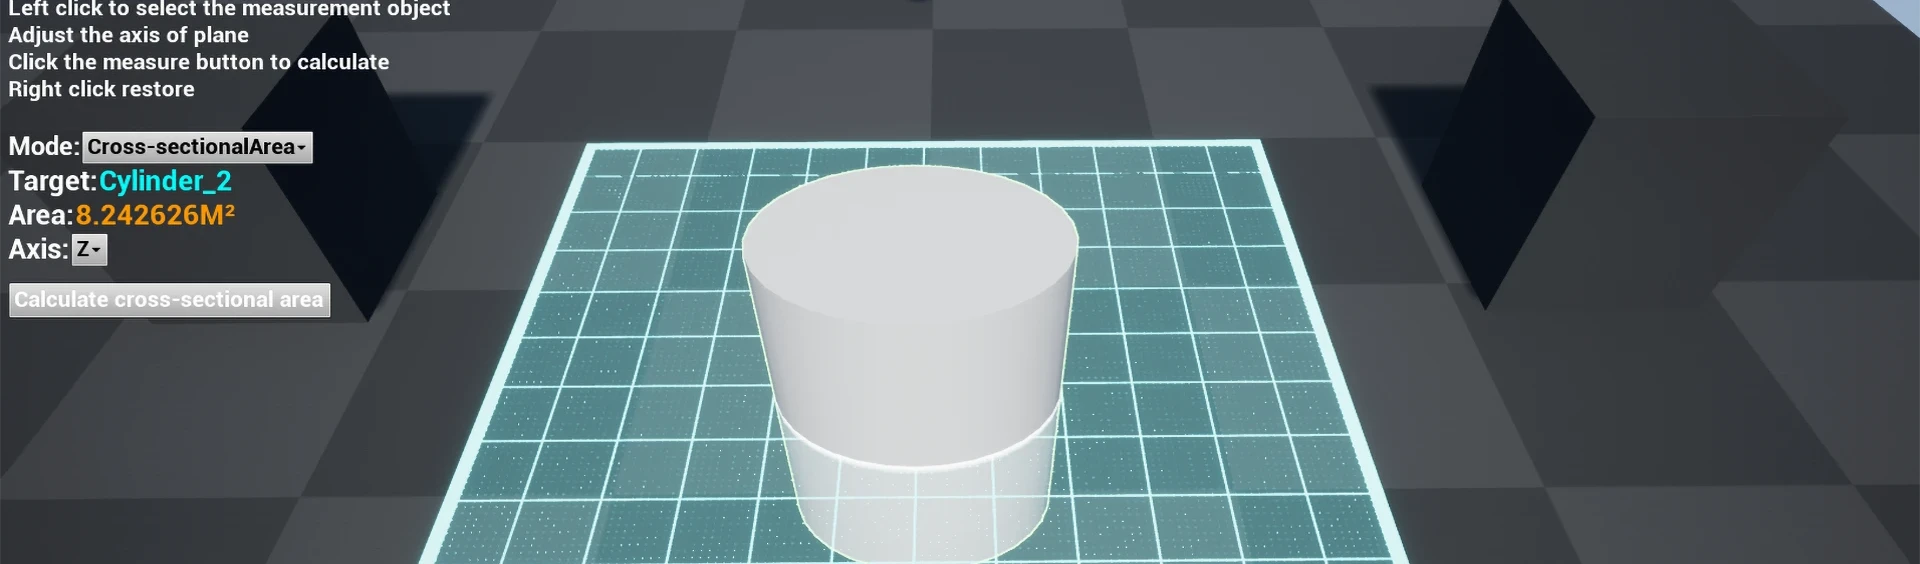

Thank you for using MeasuringTools Blueprint! This is a Blueprint-only asset, before we get start, you need to pay attention:
This plugin contains post-processing materials, if you need to see the outline effect of the selected object, you need to set it up as follows
感谢使用测量工具蓝图!此乃纯蓝图资产,在开始之前,您需要特别注意:
这个插件包含后期处理材质,如果您需要看到物体选中后描边的效果,您需要做如下设置
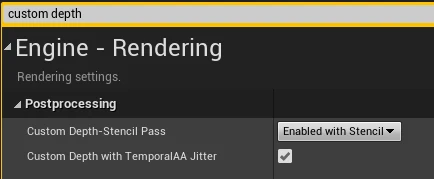
In Project Settings - Engine - Rendering, search for "custom depth" and select "Enabled with Stencil"
在 Project Settings - Engine - Rendering,搜索“custom depth”,选择“Enabled with Stencil”
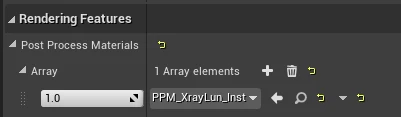
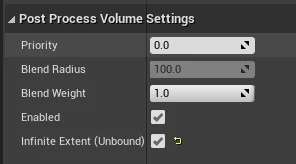
In "PostProcessVolume" make sure you have set the "PPM_XrayLun_inst" material,and enable “Infinite Extent(Unbound)”
在”后期处理体积“中确保您已设置“PPM_XrayLun_inst”材质,并启用无边界
Now you can browse the plugin content, in the "Content Browser", open "MeasuringTools" - "Blueprint" folder.
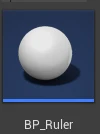
Find "BP_Ruler", to use this tool, just drag and drop "BP_Ruler" into the scene
现在您可以浏览资源内容了,在“Content Browser”,打开"MeasuringTools" - "Blueprint" 文件夹,
找到“BP_Ruler”,要使用本插件,把“BP_Ruler”拖入场景即可
Instructions for use使用说明
Double-click to open "DemoMap", you can see that "BP_Ruler" is already in the scene, click "Play".
双击打开“DemoMap”,可以看到“BP_Ruler”已经在场景中,点击“Play”
We used the engine's "DefaultPawn", the operation way is: W forward, S backward, A left, D right, Q down, E up, hold the right mouse button or middle button to rotate the viewing angle
使用了引擎默认的“DefaultPawn”操作方式是:W前进、S后退、A向左、D向右、Q向下、E向上,按住鼠标右键或中键旋转视角
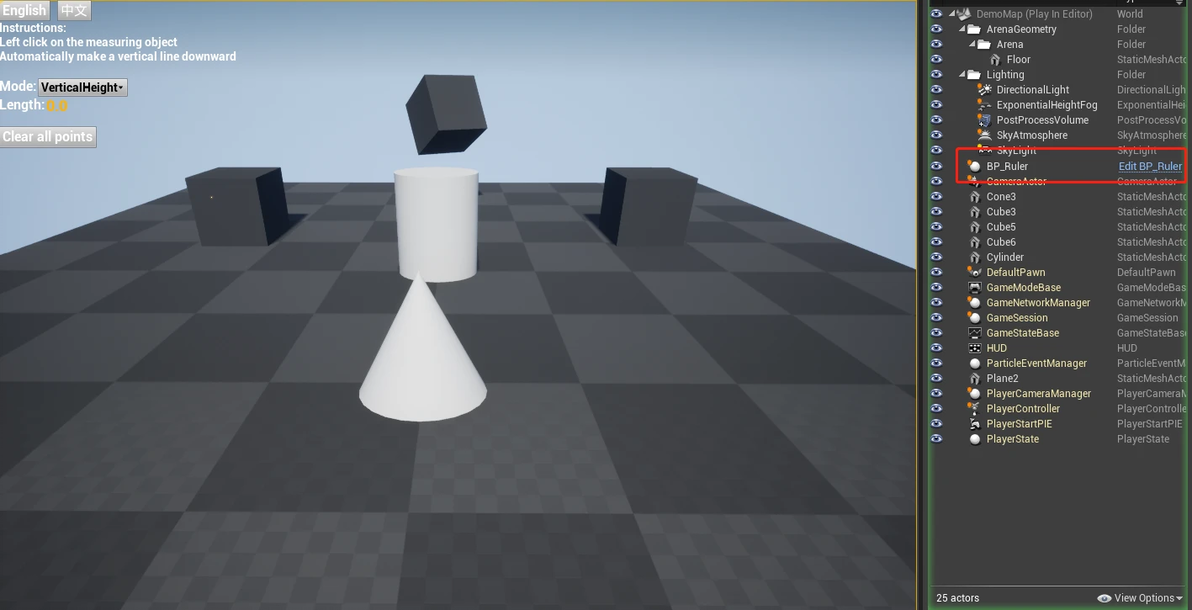
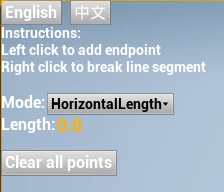
In the upper left corner is the plugin's interface, you can click "English" or "中文" to switch languages
左上角是插件的界面,你可以点击“English”或“中文”切换语言
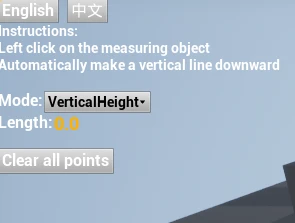
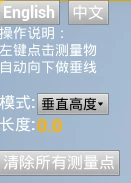
This plugin contains 5 different measuring modes, They are vertical height, horizontal length, free length, draw area, and cross-sectional area, which we will explain one by one.
本插件包含5种测量模式,分别是垂直高度、水平长度、自由长度、绘制面积、横截面积,我们将一个一个讲解
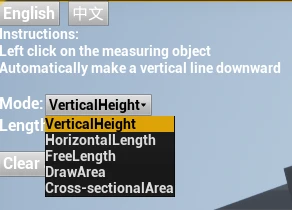
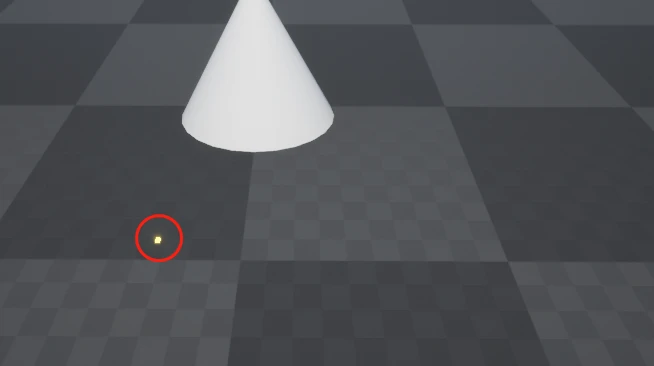
You can see that a bright spot always follows the mouse, it is a detection cube, which detects where the mouse points in the scene every frame
您可以看到一个亮点始终跟随着鼠标,这是检测方块,它会每帧检测鼠标在场景中指到了何处
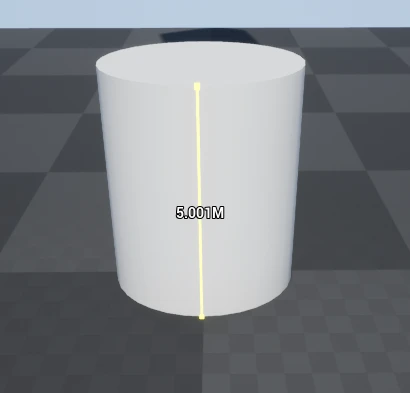
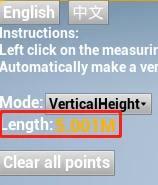
Click the left mouse button on the surface of the cylinder, and the BP_Ruler will automatically make a perpendicular line downward, and the perpendicular line will end after touching the ground and show the height,Values are also displayed on the interface.Click "Clear All Points" to cleanup everything
在圆柱体的表面点击鼠标左键,BP_Ruler会自动向下做垂线,垂线在碰到地面后结束并显示高度,界面上也会显示数值。点击“清除所有测量点”即可清空一切
Now,let's switch to horizontal length mode,The tool will do a cleanup automatically
现在切换到水平长度模式,工具会自动做一次清除
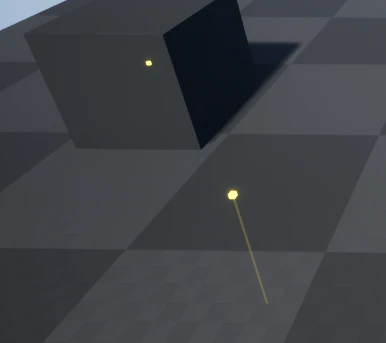
Click on the cube on the left for the first time, since the Z-axis value is locked, after moving away, you will see a vertical auxiliary line below to easily determine the height of this point
在左边的立方体上点击第一次,由于Z轴值已经锁定,移开这个位置后,您将看见一条垂直的辅助线,以方便确定这个点的高度
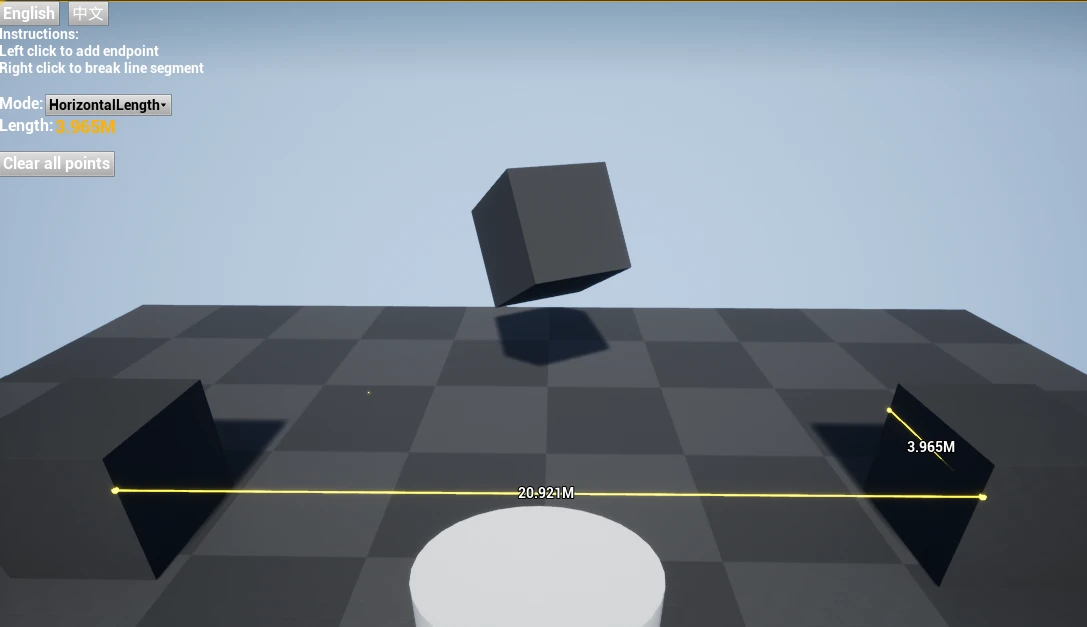
Click on the cube on the righta for the second time to measure the distance between the two cubes, and you can continue to add a third point ,fourth point. If you do not want to continue connecting points, you can break it by clicking right mouse button and then you can draw a new measurement line
在右边的立方体上点击第二次,即可测出两个立方体之间的距离,您可以继续添加第三个、第四个点。如果不想继续连接,可以点击鼠标右键断开,然后您可以重新绘制新测量线
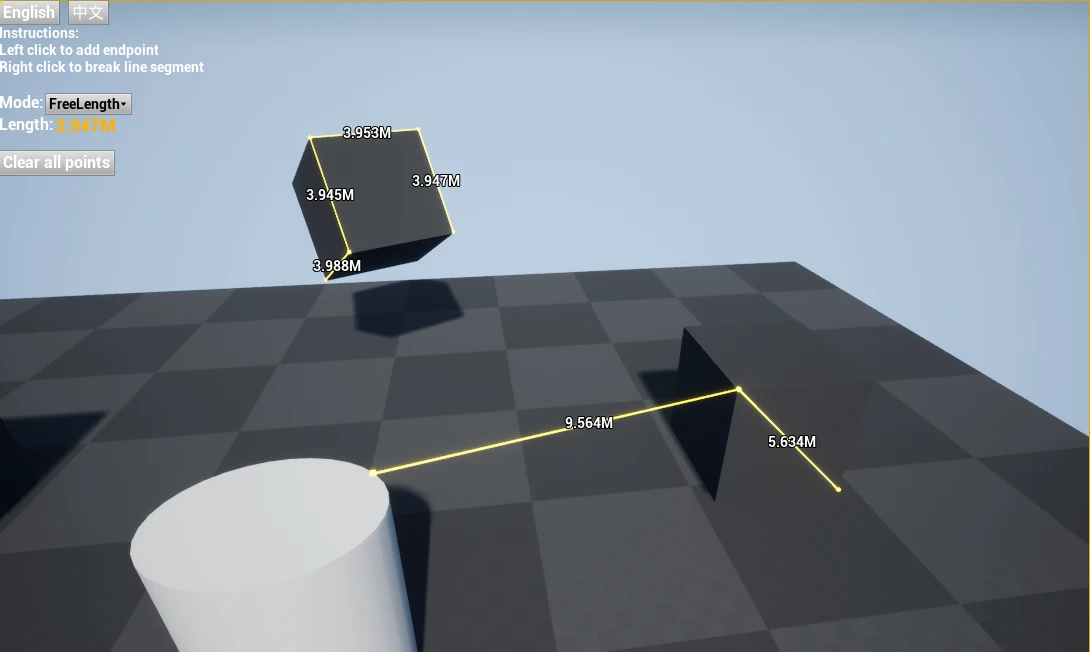
Now,let's switch to free length mode,This mode is very similar to the horizontal length mode, except that it no longer locks the Z-axis value, and you can draw the measurement line freely
现在切换到自由长度模式,这个模式与水平长度模式很像,区别在于它不再锁定Z轴值,您可以自由的画测量线
Now,let's switch to Draw Area mode.This mode is based on the horizontal length and free length modes, connecting the polygon from start to end when break it. This means that after drawing the last point, you only need to right-click and don't have to click the start point again
Lock Horizontal is enabled by default, so polygons can only be drawn on one horizontal plane. But you can disable it to draw freely.
现在切换到绘制面积模式,这个模式是在水平和自由长度模式的基础上,在断开时对多边形进行首尾相连。这意味着您在画完最后一个顶点后,点击鼠标右键即可,不需要再次点击起始点
默认开启锁定水平,此时只能在一个水平面上绘制多边形。您可以禁用锁定以自由绘制
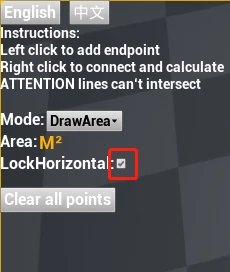
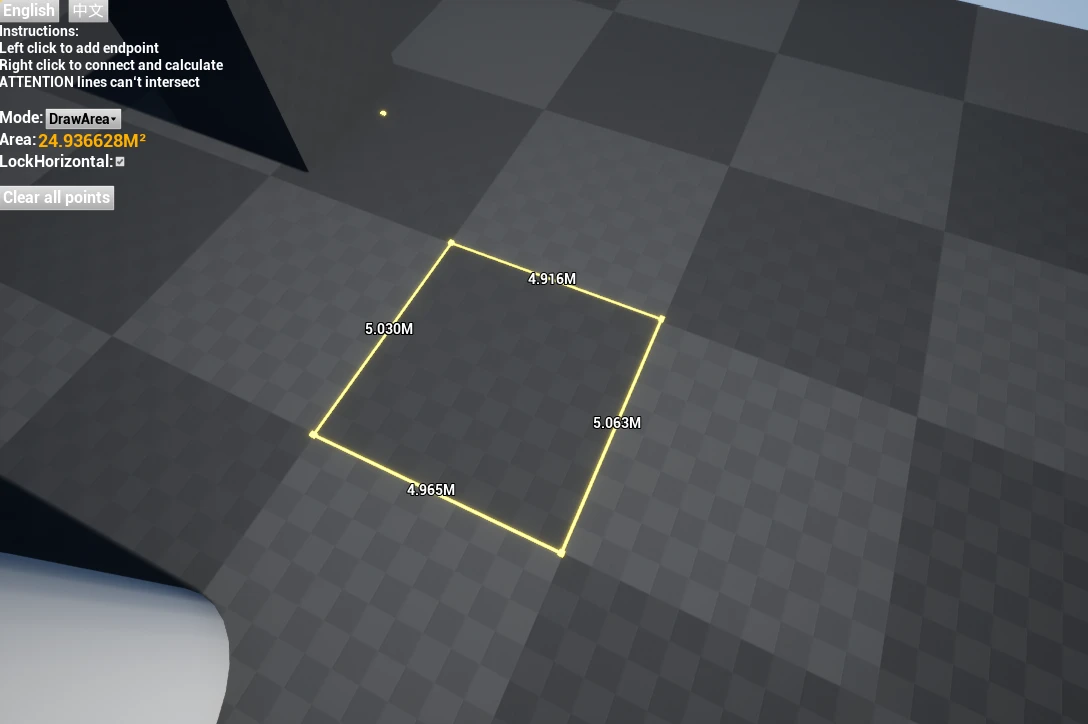
When drawing polygons, keep in mind:
1.The number of points must be greater than 2!
2.Do not cross the lines when drawing, the value will be meaningless!
绘制多边形的注意点:
1、定点数量一定要大于2!
2、绘制线条请勿交叉,这样计算出的面积无效!
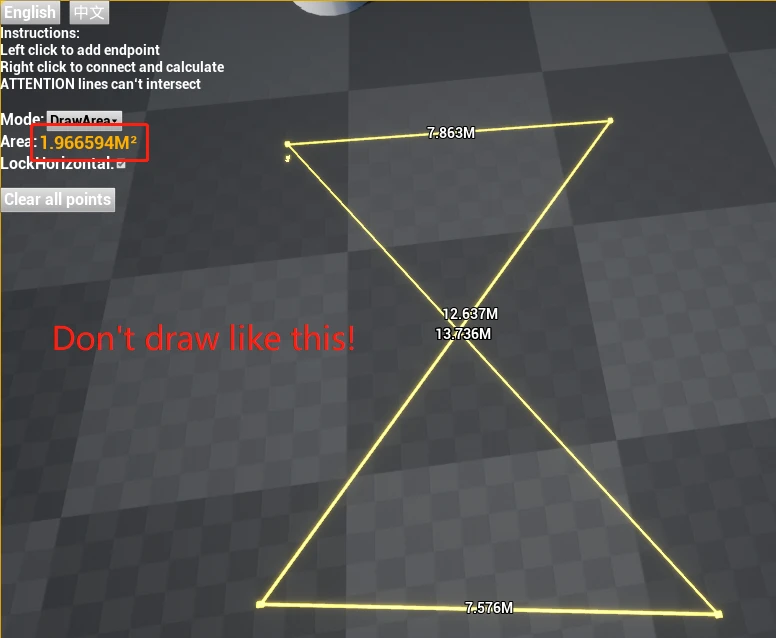
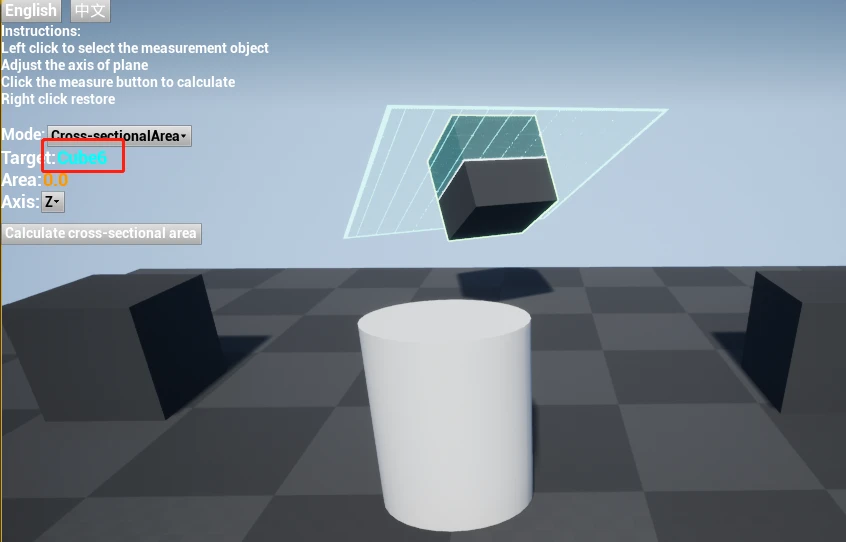
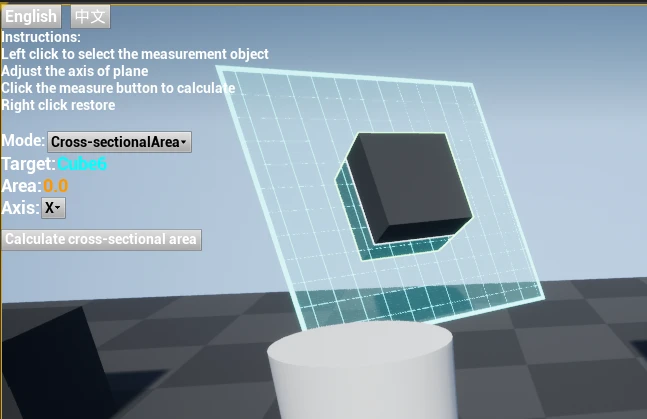
Finally, switch to cross-sectional mode, in this mode, you need to click the left mouse button to select the object to be measured, we take the cube in the middle as an example. After clicking, the target will display the selected Actor. The Actor will have a blue outline effect, and the cross-sectional grid will appear in the center of it.By the way,you can right-click to deselect
If you don't want to cut transversely, you can select the axis you want, and after adjustment, click Calculate cross-sectional area to output the result
最后切换到绘制面积模式,在这个模式里,你需要点击鼠标左键选择测量物,我们以中间的立方体为例,点击后,目标会显示被选择的Actor,它会出现蓝色描边效果,且横截网格会出现在Actor中心,另外右键鼠标会取消选择
如果你不想横向切开,您可以在轴向中选择您想切开的轴,调整完毕后,点击计算横截面积即可输出结果
Blueprint customization蓝图自定义
If you want to use the measurement tool in your own project, you will also need to make the following custom modifications to the Blueprint
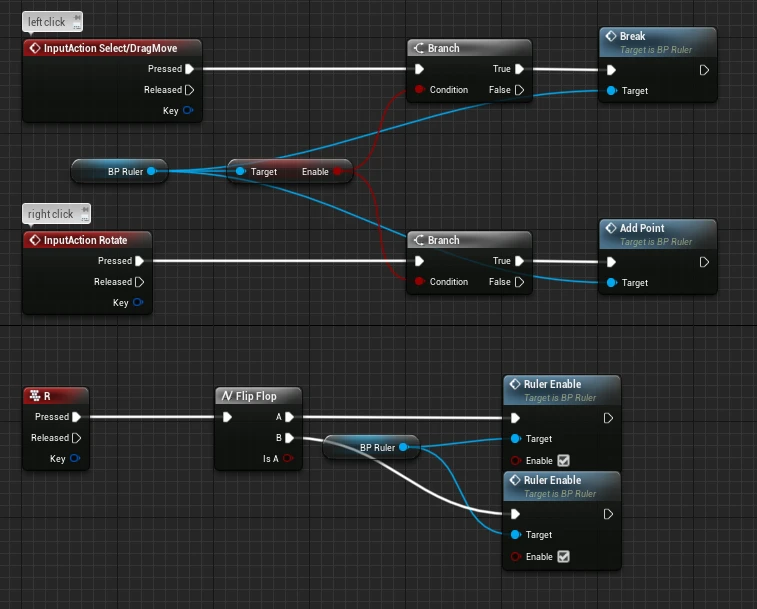
Since I've added input events directly to the BP_Ruler that may conflict with input events in your project where the player controlled Pawn, I strongly recommend getting a reference to the BP_Ruler from Pawn and calling BP_Ruler from Pawn's input event
The following is a recommended way to write it:
如果您想把测量工具用在自己的项目中,您还需要对蓝图做以下自定义修改
由于我在BP_Ruler中直接添加了输入事件,这些事件可能会和项目中玩家控制Pawn的输入事件冲突,我强烈建议从Pawn中获取BP_Ruler的引用,然后从Pawn的输入事件调用BP_Ruler
下图是一种推荐写法:
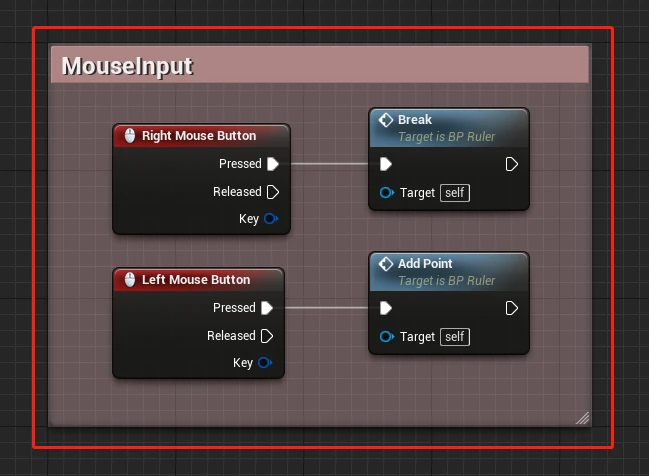
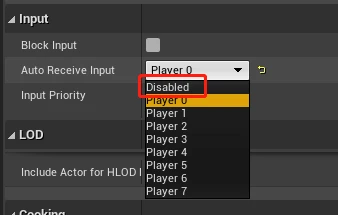
1.In the BP_Ruler, delete the nodes in the red wireframe, and then change AutoReceiveInput to Disabled in Details
1、在BP_Ruler中,删除红色线框内的节点,然后在Details中把AutoReceiveInput改为Disabled
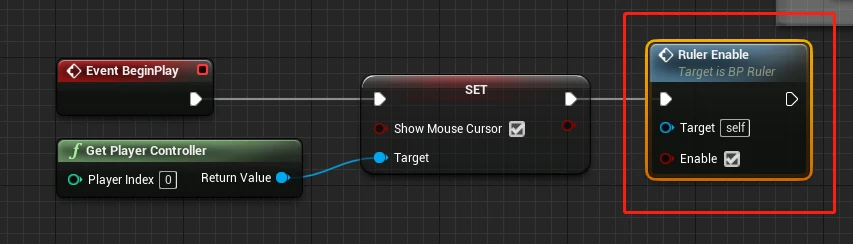
2.In your own Pawn, you can set a button to turn the measuring tool on and off
2、在您自己的Pawn中,您可以设置一个按键用于开启和关闭测量工具
That's all,Hope you enjoy!
