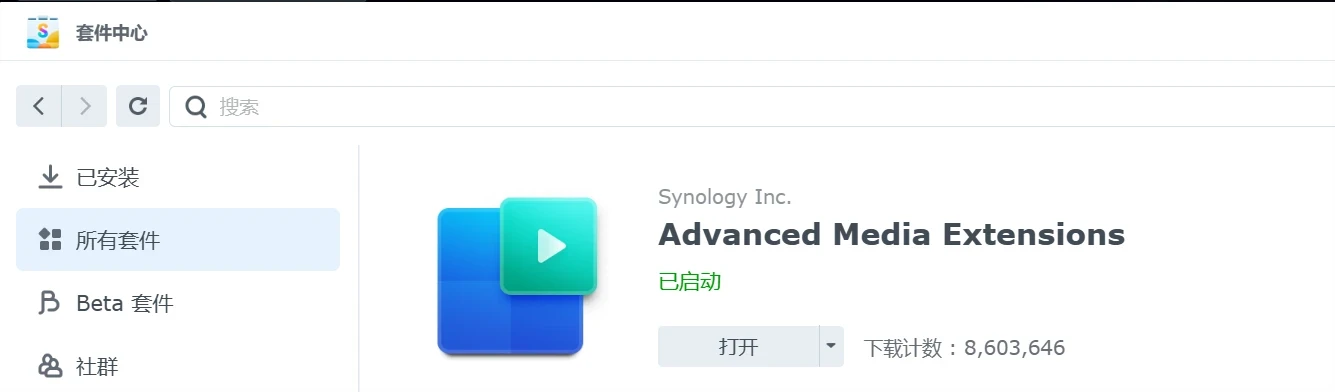
群晖激活Advanced Media Extensions 3.0

本文代码出处为:AME 3.0 patcher - Developer Discussion Room - XPEnology Community
代码块
HTML
自动换行
复制代码
https://xpenology.com/forum/topic/65643-ame-30-patcher/复制成功
哈喽大家好,我是张三。
今天分享群晖7.1激活Advanced Media Extensions 3.0的方法。
能够成功激活的前提是你的群晖为半白(有正确的SN号)。
将以下代码保存为*.py文件。例如:AME.py
代码块
Python
自动换行
复制代码
import hashlib
import os

r = ['669066909066906690', 'B801000000', '30']
s = [(0x1F28, 0), (0x48F5, 1), (0x4921, 1), (0x4953, 1), (0x4975, 1), (0x9AC8, 2)]

prefix = '/var/packages/CodecPack/target/usr'
so = prefix + '/lib/libsynoame-license.so'

print("Patching")
with open(so, 'r+b') as fh:
    full = fh.read()
    if hashlib.md5(full).digest().hex() != 'fcc1084f4eadcf5855e6e8494fb79e23':
        print("MD5 mismatch")
        exit(1)
    for x in s:
        fh.seek(x[0] + 0x8000, 0)
        fh.write(bytes.fromhex(r[x[1]]))

lic = '/usr/syno/etc/license/data/ame/offline_license.json'
os.makedirs(os.path.dirname(lic), exist_ok=True)
with open(lic, 'w') as licf:
    licf.write('[{"appType": 14, "appName": "ame", "follow": ["device"], "server_time": 1666000000, "registered_at": 1651000000, "expireTime": 0, "status": "valid", "firstActTime": 1651000001, "extension_gid": null, "licenseCode": "0", "duration": 1576800000, "attribute": {"codec": "hevc", "type": "free"}, "licenseContent": 1}, {"appType": 14, "appName": "ame", "follow": ["device"], "server_time": 1666000000, "registered_at": 1651000000, "expireTime": 0, "status": "valid", "firstActTime": 1651000001, "extension_gid": null, "licenseCode": "0", "duration": 1576800000, "attribute": {"codec": "aac", "type": "free"}, "licenseContent": 1}]')


print("Checking whether patch is successful...")
ret = os.system(prefix + "/bin/synoame-bin-check-license")
if ret == 0:
    print("Successful, updating codecs...")
    os.system(prefix + "/bin/synoame-bin-auto-install-needed-codec")
    print("Done")
else:
    print(f"Patch is unsuccessful, retcode = {ret}")
复制成功
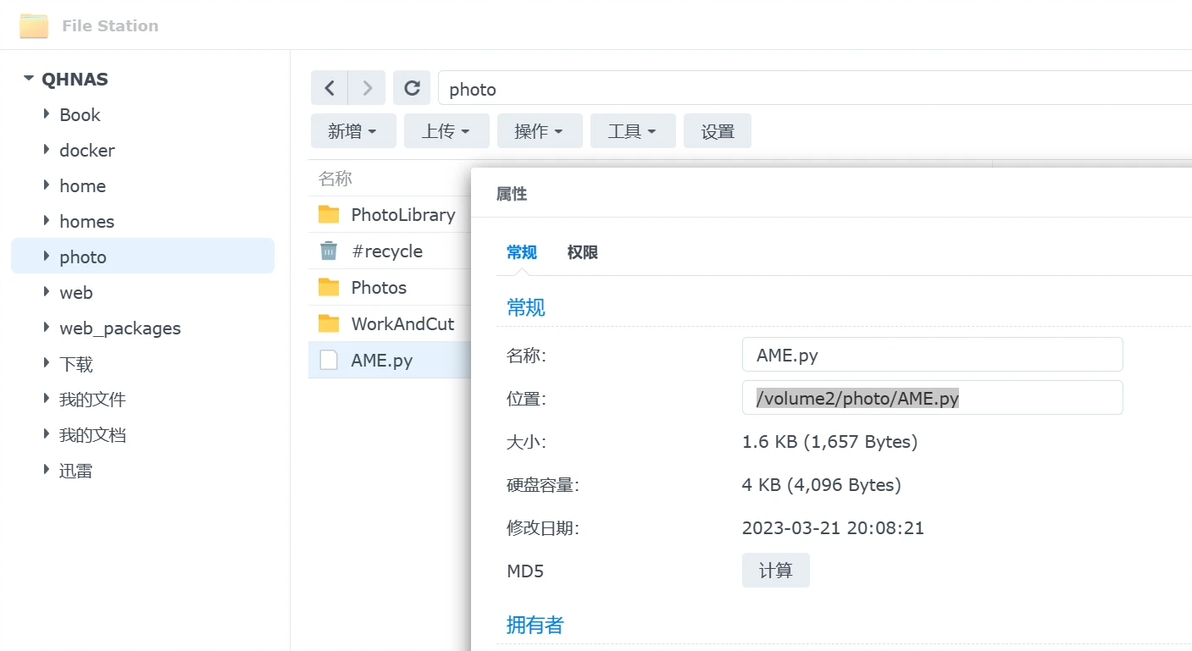
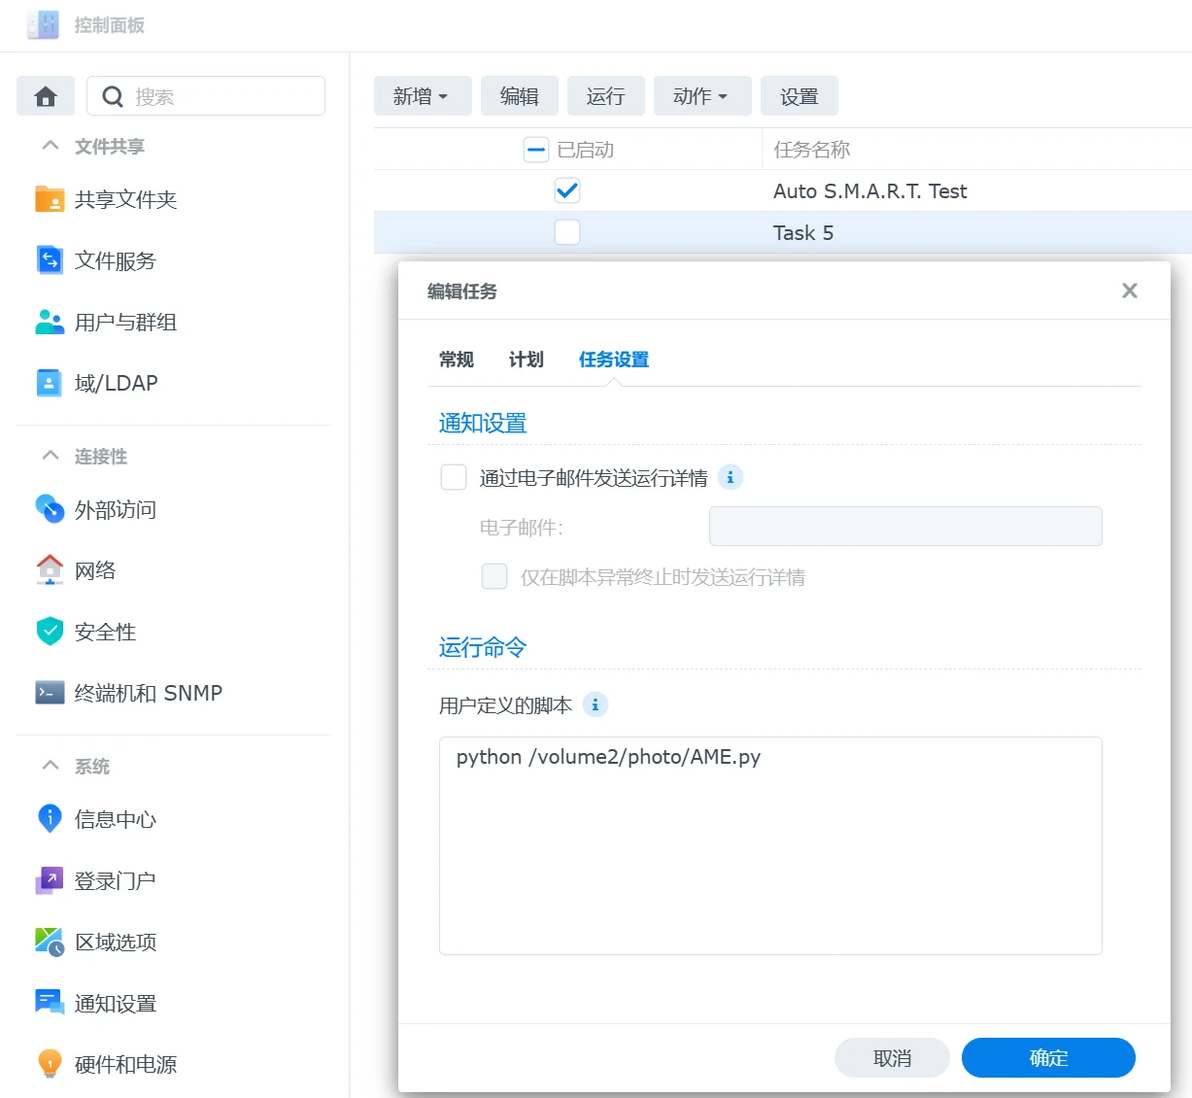
将AME.py保存到你的群晖中。查看保存文件的属性,记住文件的位置,例如我的为:/volume2/photo/AME.py
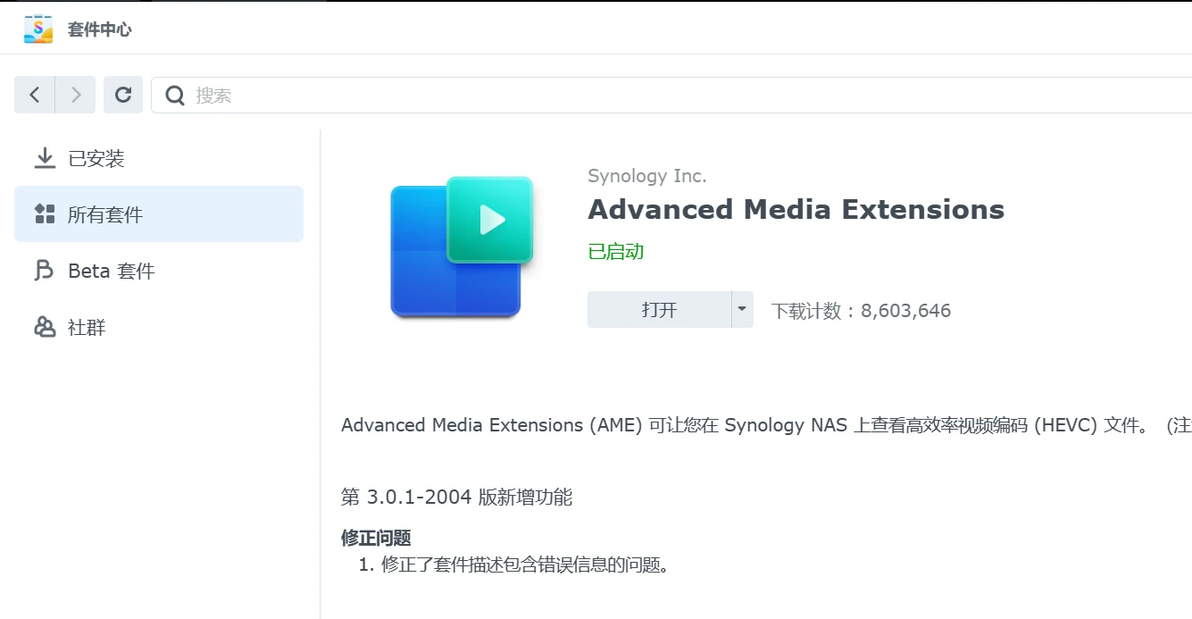
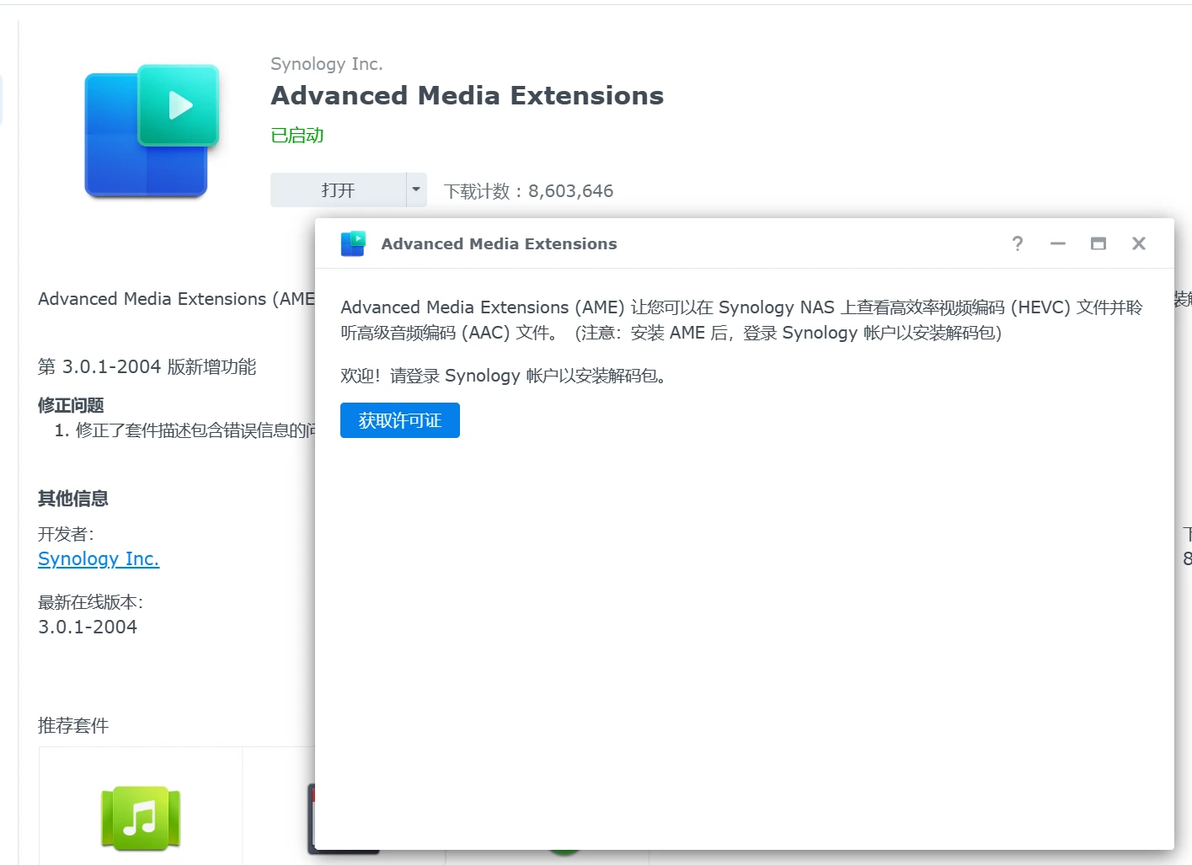
打开套件中心安装Advanced Media Extensions套件。安装完成后打开需要你登录,这里直接关闭不用管。
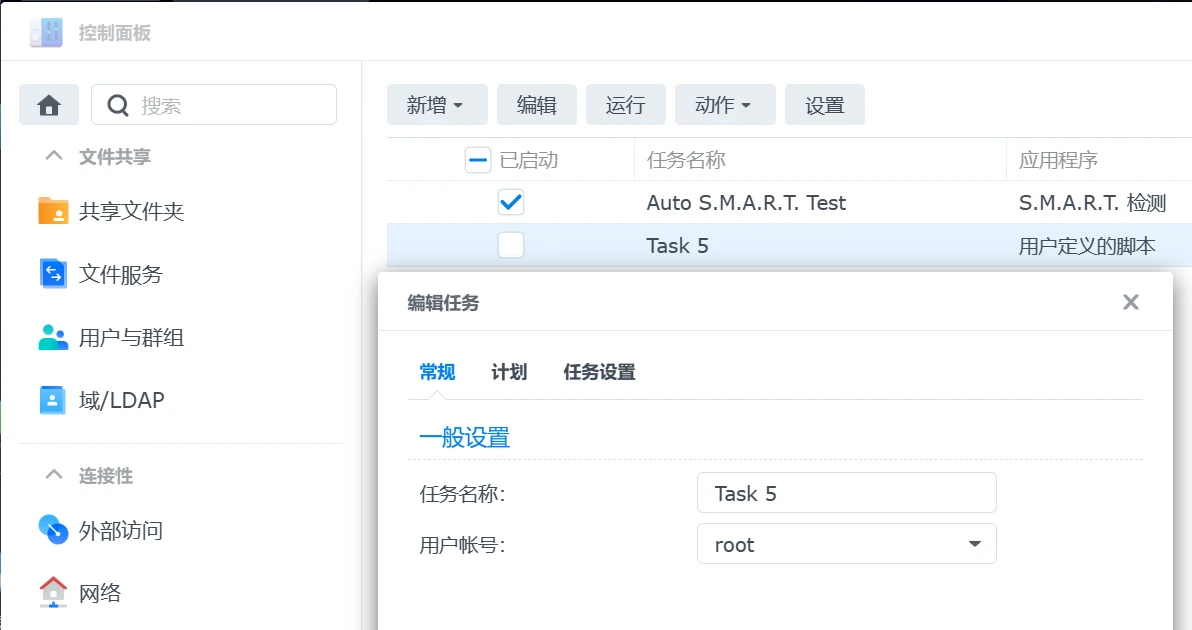
在控制面板的任务计划中,新建一个计划任务使用用户自定义脚本,用户账户使用root。
任务设置中的用户自定义脚本输入:python后面跟刚才我们保存的文件位置。
代码块
HTML
自动换行
复制代码
phthon /volume2/photo/AME.py复制成功
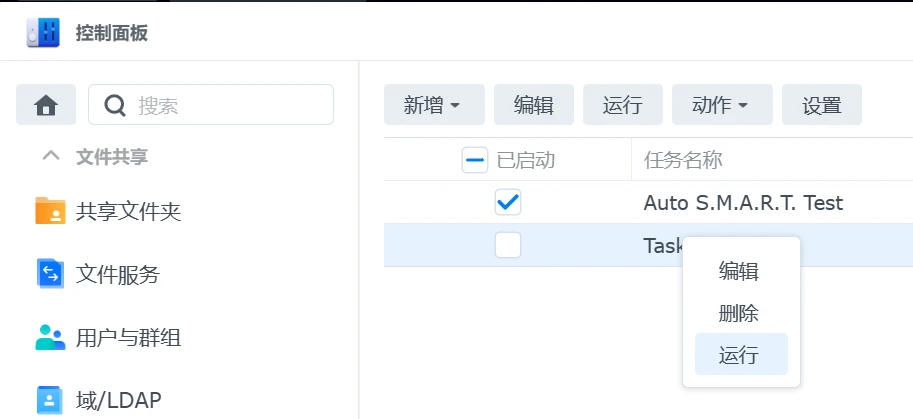
保存任务后在任务上点击右键运行。
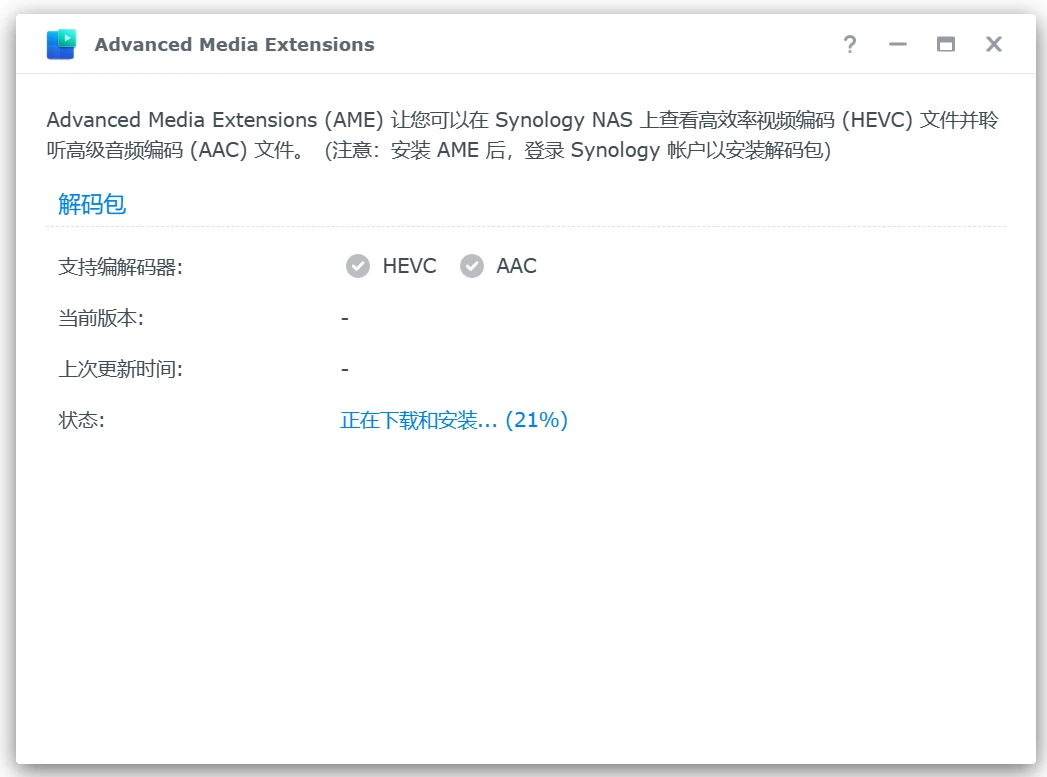
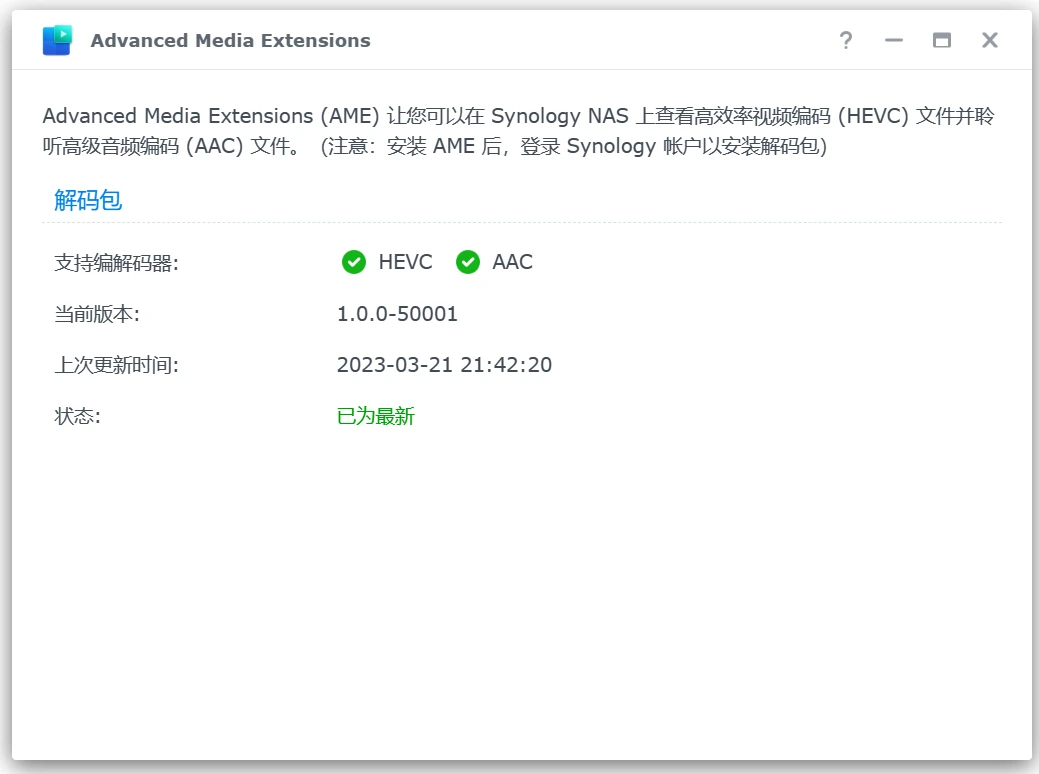
运行完成后稍等十几秒,打开Advanced Media Extensions,我们看到解码包已经开始安装了。如果没有开始安装请彻底删除Advanced Media Extensions后重装并再次手动运行我们的脚本。
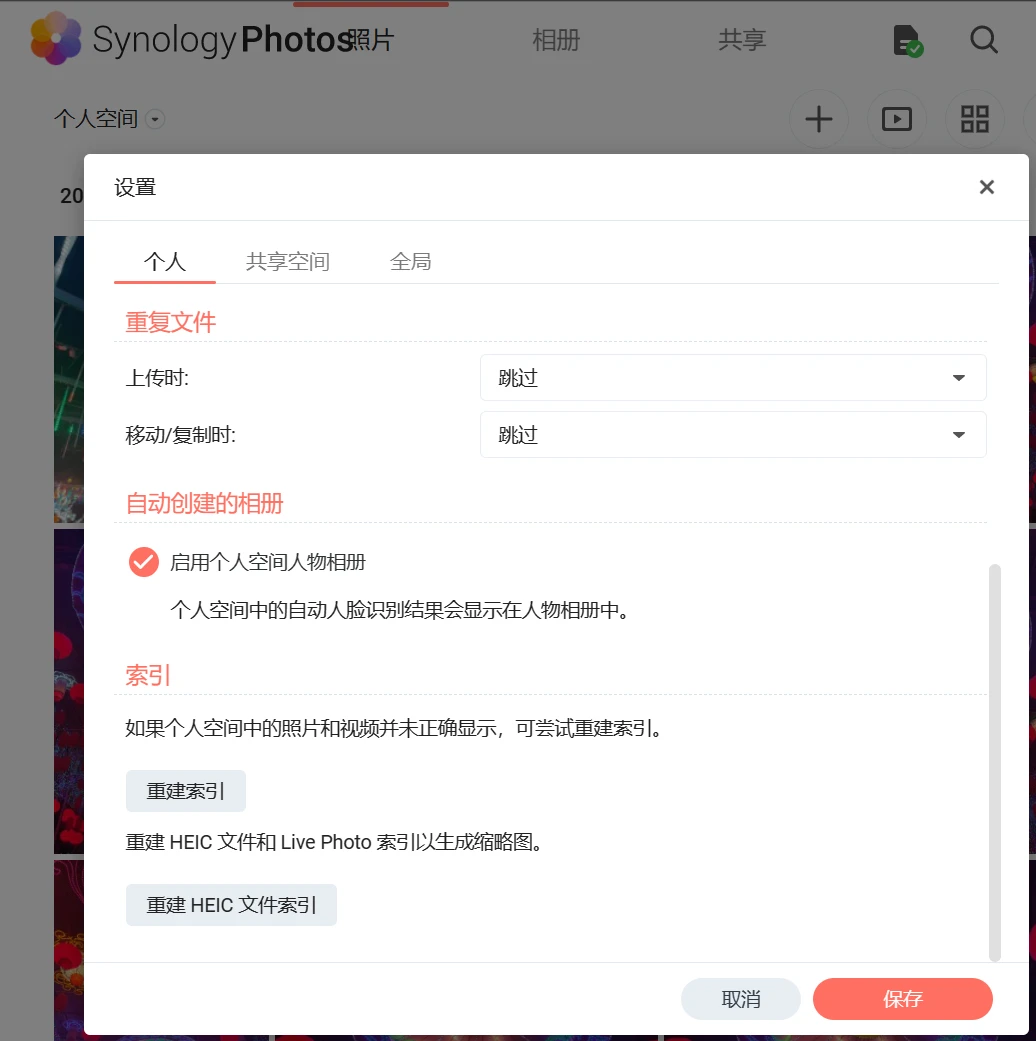
最后进入Synology Photos的设置,重建HEIC文件索引即可。
如果解码包安装失败,请重新卸载Advanced Media Extensions后再次尝试。
cv22556816
分享至
投诉或建议
