

前置条件
一台云服务器
一个备案域名
一、配置https证书
由于需要对泛域名进行申请ssl证书,各运营商不支持免费的泛域名ssl证书,所以采用acme的免费证书。 记得提前去域名运营商那里解析一个子域名到云服务器ip,如果是泛域名的话需要添加*.[二级域名].http://demo.com的A记录
1. 安装acme
# 下载安装acme
curl https://get.acme.sh | sh
# 创建acme别名
alias acme.sh=~/.acme.sh/acme.sh2. 使用acme签证书
acme是自动工作的,第一次签证书之后,每隔60天自动帮你续期。
a. 非泛域名证书
# 可以同时给多个域名签证书
acme.sh --issue -d mydomain.com,www.mydomain.com --webroot /home/wwwroot/mydomain.com
b. 泛域名证书
腾讯云示例:
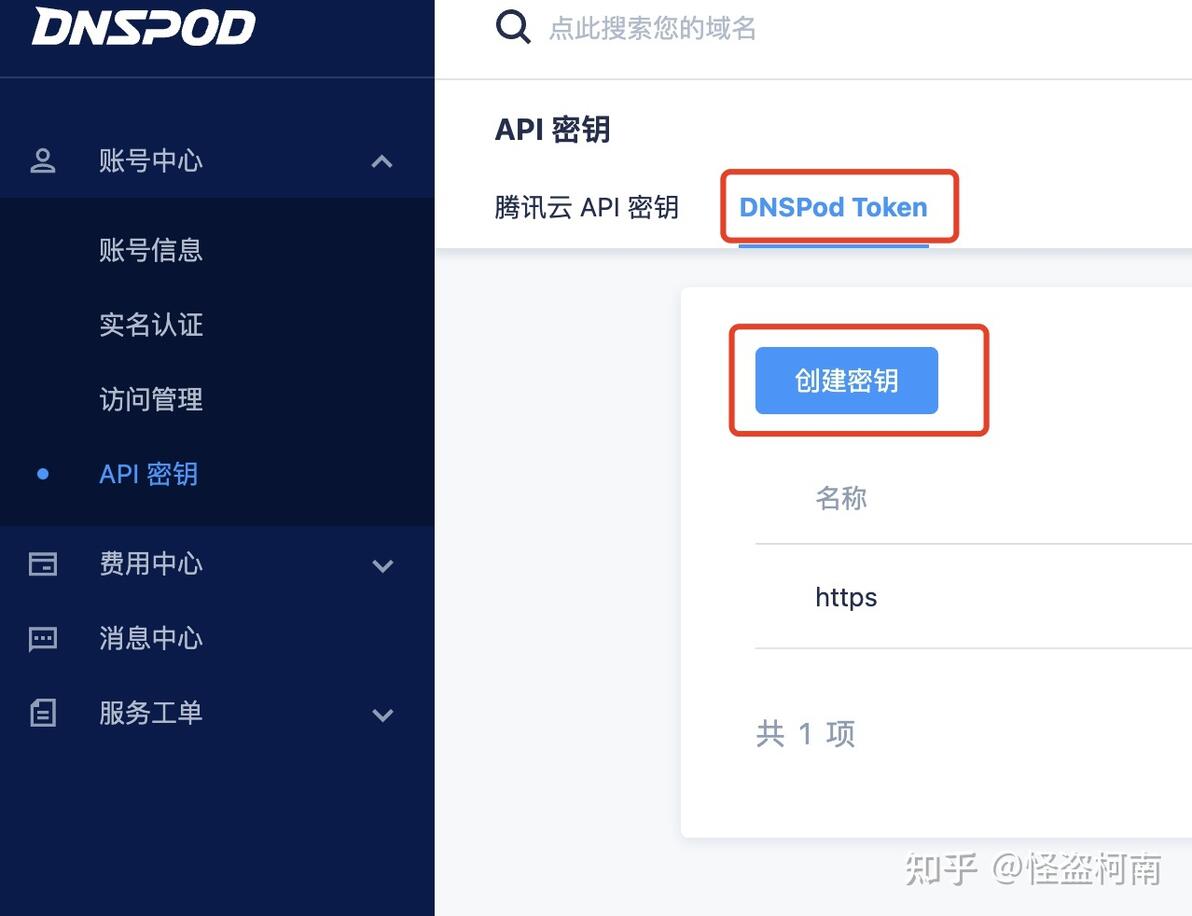
登录dnspod,进入API秘钥页面
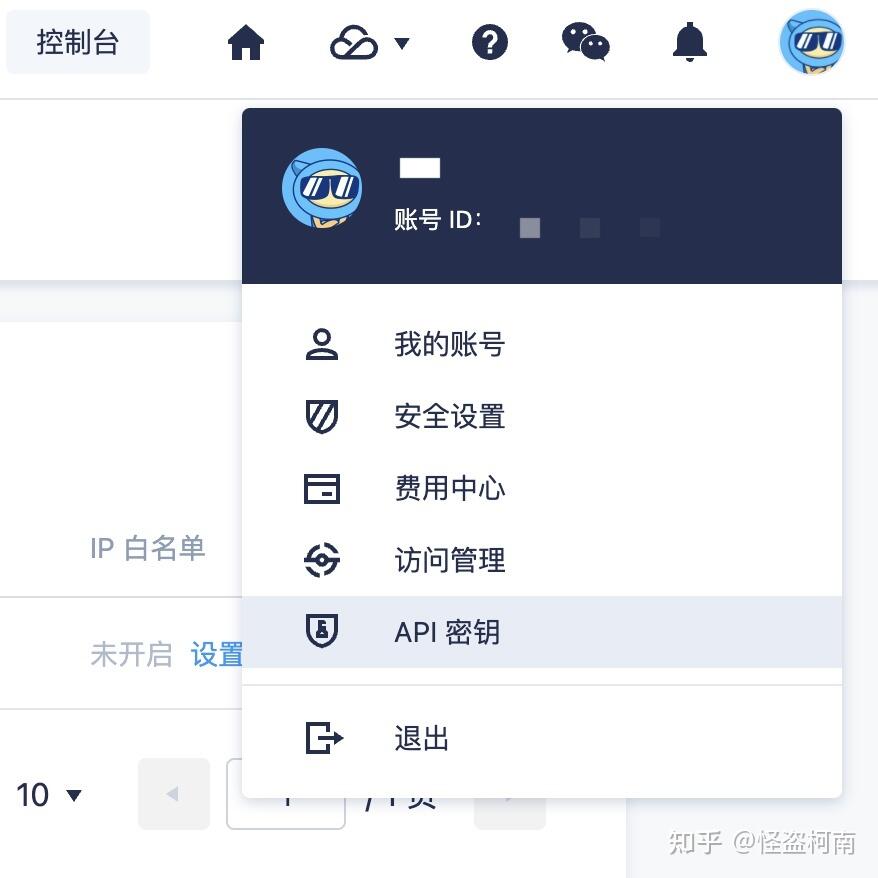
创建DNSPod Token 秘钥
创建秘钥并记录(!!!一定要记录token)
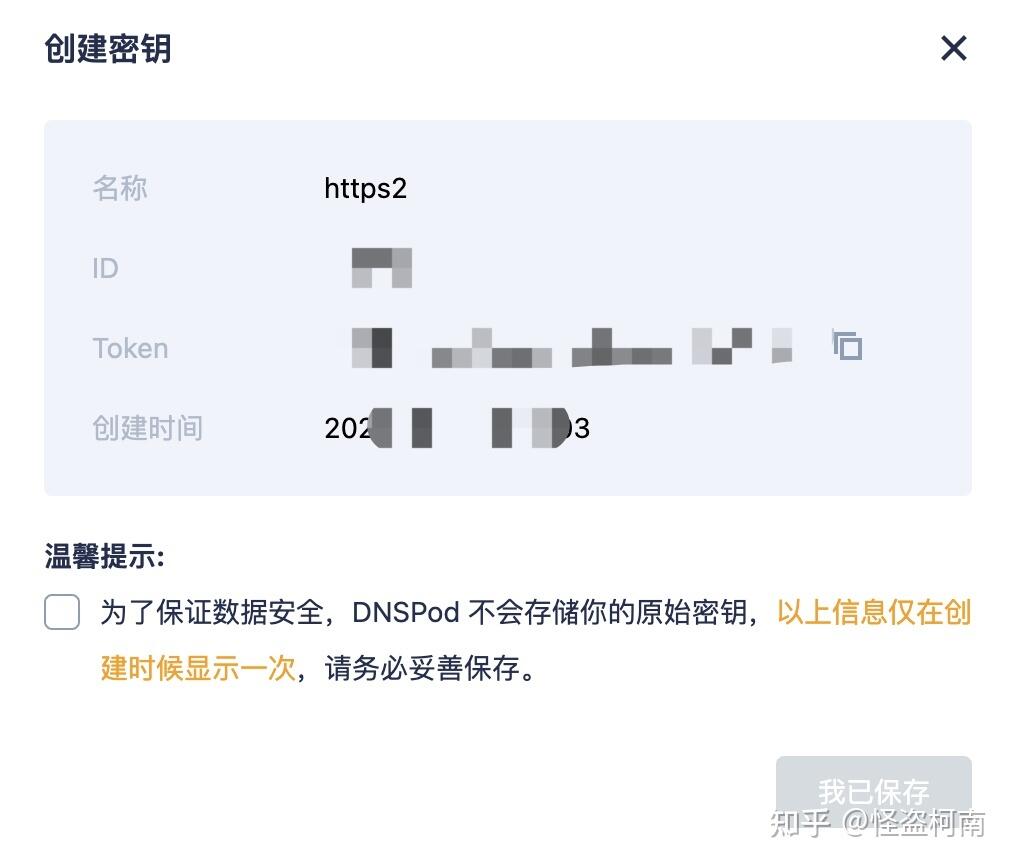
编辑/root/.acme.sh/account.conf文件,增加DP_Id和DP_Key不同的运营商有不同的键名,具体查看https://github.com/Neilpang/acme.sh/wiki/dnsapi
export DP_Id='265751'
export DP_Key='007b05d000bf2cd4b9728386bb6a6963'使用acme.sh创建证书
acme.sh --issue --dns dns_dp -d domain1.com,domain2.com,*.domain1.com,*.domain2.com --server https://acme-v02.api.letsencrypt.org/directory记住生成证书的的位置

二、frp服务端安装及配置
1. 下载frp服务端
可以到https://github.com/fatedier/frp/releases找到最新版本下载
# 下载服务端代码
wget https://github.com/fatedier/frp/releases/download/v0.16.1/frp_0.16.1_linux_amd64.tar.gz
# 解压
tar zxf ./frp_0.16.1_linux_amd64.tar.gz
# 进入frp文件夹
cd ./frp_0.16.1_linux_amd64
# 创建frp文件夹
mkdir /usr/local/frp
# 复制程序
cp frps /usr/local/frp
# 复制配置文件
cp frps.ini /usr/local/frp
2. 配置启动服务端frps
编写frps的Systemd配置文件/etc/systemd/system/frps.service,此步可以实现后台启动
[Unit]
Description=Frp Server Service
After=network.target

[Service]
Type=simple
User=nobody
Restart=on-failure
RestartSec=5s
ExecStart=/usr/local/frp/frps -c /usr/local/frp/frps.ini

[Install]
WantedBy=multi-user.target修改frps的配置文件/usr/local/frp/frps.ini
[common]
# 服务器端监听客户端连接请求的端口
bind_port = 17000

# 服务器端监听http请求的端口(由于80端口被nginx占用,因此指定其他端口)
vhost_http_port = 8082

# 服务器用以显示连接状态的站点端口,以下配置中可以通过访问IP:7500登录查看frp服务端状态等信息
dashboard_addr = 0.0.0.0
dashboard_port = 7500

# dashboard对应的用户名/密码
dashboard_user = use
dashboard_pwd = pwd

# 日志文件路径
log_file = ./frps.log

# 日志记录错误级别,分为:trace, debug, info, warn, erro
log_level = warn

# 日志保存最大天数
log_max_days = 3

# 客户端连接校验码(客户端需与之相同)
privilege_token = 123456789

# heartbeat configure, it's not recommended to modify the default value
# the default value of heartbeat_timeout is 90
# heartbeat_timeout = 90

# only allow frpc to bind ports you list, if you set nothing, there won't be any limit
# privilege_allow_ports = 2000-3000,3001,3003,4000-50000

# pool_count in each proxy will change to max_pool_count if they exceed the maximum value
max_pool_count = 5

# max ports can be used for each client, default value is 0 means no limit
max_ports_per_client = 0

# authentication_timeout means the timeout interval (seconds) when the frpc connects frps
# if authentication_timeout is zero, the time is not verified, default is 900s
authentication_timeout = 900

# 支持外部访问的域名(需要将域名解析到IP)
subdomain_host = frp.demo.com
启动frps:
systemctl enable frps
systemctl start frps
三、Nginx配置
nginx安装省略...,有需要可以自行百度

接下来配置nginx反向代理frps的http服务
server {
        listen 80;
        server_name *.frp.jiaomingchao.com;
        return 301 https://$host$request_uri;
    }
    server {
        listen 443 ssl;
        server_name *.frp.demo.com;
        ssl_certificate /root/.acme.sh/*.frp.demo.com/fullchain.cer;
        ssl_certificate_key /root/.acme.sh/*.frp.demo.com/*.frp.demo.com.key;
        ssl_session_timeout 5m;
        ssl_protocols TLSv1 TLSv1.1 TLSv1.2; #按照这个协议配置
        ssl_ciphers ECDHE-RSA-AES128-GCM-SHA256:HIGH:!aNULL:!MD5:!RC4:!DHE;#按照这个套件配置
        ssl_prefer_server_ciphers on;

        location / {
            proxy_pass http://127.0.0.1:8082;
            proxy_set_header X-Forwarded-For $proxy_add_x_forwarded_for;
            proxy_set_header Host $http_host;
            proxy_set_header X-NginX-Proxy true;
            proxy_http_version 1.1;
            proxy_set_header Upgrade $http_upgrade;
            proxy_set_header Connection "upgrade";
            proxy_max_temp_file_size 0;
            proxy_redirect off;
            proxy_read_timeout 240s;
        }

        error_page 500 502 503 504 /50x.html;
        location = /50x.html {
            root /usr/share/nginx/html;
        }
}然后重启nginx服务
四、frp客户端安装及配置
1. 下载frp客户端
去https://github.com/fatedier/frp/releases下载对应平台对应版本的frp客户端(我是mac的下载frp_*_darwin_amd64.tar.gz)
2. 编辑frp客户端配置文件
解压之后进入文件夹找到文件并编辑
[common]
server_addr = 云服务器ip
server_port = 17000		# 和服务端设置的bind_port一致
privilege_token = 123456789  # 和服务端设置保持一致
auth_token = auth_token      # 可以不设置
[web]
type = http									 # 穿透协议类型
local_port = 5000						 # 本地端口
subdomain = test						 # 三级域名,会自动添加到二级域名前面
# 如果需要新增穿透监听的话直接新加任务名和以下配置即可
[webs]
type = https
local_port = 5000
subdomain = test
3. 启动客户端服务
./frpc -c ./frpc.ini常见问题
1. nginx: [emerg] the "ssl" parameter requires ngx_http_ssl_module in /usr/local/nginx/conf/nginx.conf:37
原因:nginx缺少http_ssl_module模块 解决方案:https://www.cnblogs.com/ghjbk/p/6744131.html
2. nginx: [error] open() "/usr/local/nginx/logs/nginx.pid" failed (2: No such file or directory)
原因:重新编译nginx后需要重新指定nginx.conf文件启动 解决方案:https://blog.csdn.net/u012373281/article/details/94737795
结语
需要更改客户端端口或者三级域名的话可以修改frpc.ini文件重启客户端服务即可 输入可以查看frp服务器面板数据
参考资料
【用acme.sh申请免费自动续期多域名泛域名ssl证书】:https://mmxblog.com/p-3059/Mmx.html?doing_wp_cron=1634806720.7075839042663574218750 【frp中文文档】:https://gofrp.org/docs/ 【frp github】:https://github.com/fatedier/frp 【frp+nginx实现内网穿透 - Hi,王松柏 - 博客园】:https://www.cnblogs.com/wangsongbai/p/9368473.html 【frp使用反向代理实现https协议_冰冰糖堂的博客-CSDN博客】:https://blog.csdn.net/qq_443185
