
众所周知,Pytorch是Facebook的AI研究实验室于2016年开发的深度学习框架。它以面向计算机视觉的应用程序而广为人知,特点是简单,还有强大的GPU支持,能够实现深度学习算法。
本篇文章将会通过示例实现使pytorch更直观更易懂,将简单直观地展示开始构建神经网络之前需要了解的将要用到的知识点。
01 张量
张量是表示多维数组的Pytorch对象,它类似于NumPy的数组,为了更好地理解构造张量的主要函数,我们同时会用Numpy来举例,以证明二者的逻辑是相同的。
import torch
torch_array = torch.tensor([[1,2,3],[4,5,6],[7,8,9]])
print("Tensor array: \n\n",torch_array)
import numpy as np
numpy_array = np.array([[1,2,3],[4,5,6],[7,8,9]])
print("\n Numpy array: \n\n",numpy_array)
Numpy和Pytorch使用许多类似的函数来创建矩阵:
randn 创建随机矩阵
zeros 构建填充零的矩阵
ones 返回矩阵
在构建单位矩阵的函数有一个不同点,就是Pytorch使用该函数eye,而NumPy使用该函数identity。
np_rand = np.random.rand(3,3)
print("Random matrix with NumPy: \n")
print(np_rand,"\n")
print(np_rand.shape)
torch_rand = torch.rand(3,3)
print("\n Random matrix with Pytorch: \n")
print(torch_rand,"\n")
print(torch_rand.shape)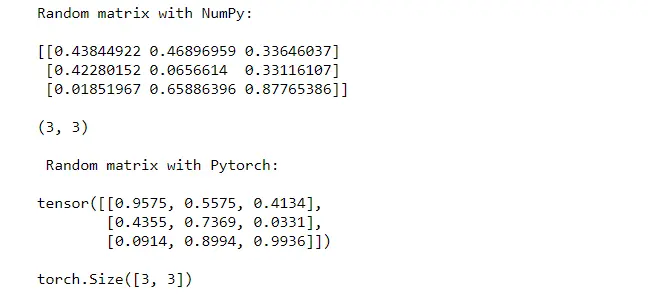
np_zeros = np.zeros((3,3))
print(np_zeros,'\n')
torch_zeros = torch.zeros(3,3)
print(torch_zeros)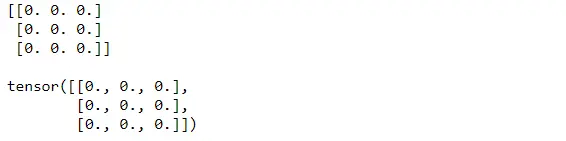
np_ones = np.ones((3,3))
print(np_ones,'\n')
torch_ones = torch.ones(3,3)
print(torch_ones)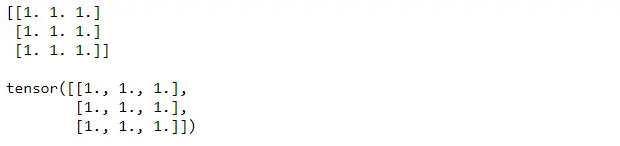
np_id = np.identity(3)
print(np_id,'\n')
torch_id = torch.eye(3)
print(torch_id)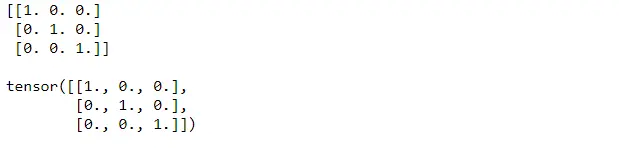
02 矩阵乘法
在训练神经网络的模型时,有多种矩阵乘法可用,接下来将展示两种乘法。
在NumPy中,函数dot和matmul用于两个矩阵之间的乘积。如果不想使用这些函数,可使用@运算符替代。
Pytorch具有与NumPy中的matmul相同的功能。另一个选择可以是torch.mm,它们之间的区别是torch.mm不支持广播。
np_a1 = np.array([[1,2,3],[4,5,6],[7,8,9]])
np_a2 = np.array([[2,3],[2,3],[2,3]])
print(np.dot(np_a1,np_a2),'\n')
# print(np.matmul(np_a1,np_a2),'\n')
# print(np_a1 @ np_a2)
torch_a1 = torch.tensor([[1,2,3],[4,5,6],[7,8,9]])
torch_a2 = torch.tensor([[2,3],[2,3],[2,3]])
print(torch.mm(torch_a1,torch_a2))
# print(torch.matmul(torch_a1,torch_a2))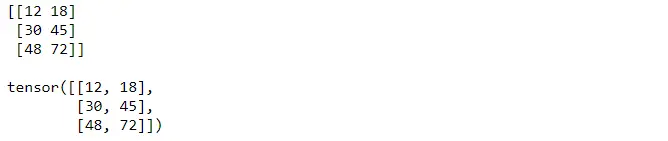
在逐元素乘法的情况下,NumPy使用multiply,而Pytorch使用简单运算符*。
print(np.multiply(np_a1,2),'\n')
print(torch_a1 * 2)
03 从Pytorch到NumPy,反之亦然
numpy数组可以使用from_numpy函数转换为张量,相反也可以通过函数numpy完成。
torch_a1 = torch.from_numpy(np_a1)
print(type(torch_a1))
np_a1 = torch_a1.numpy()
print(type(np_a1))
04 Autograd中的差异化
导数构成神经网络的基本方面,事实上,梯度下降算法使用导数来学习模型。这个算法的目标是最小化损失函数J。然后参数的值会发生变化,直到我们没有得到J的最优值。这个方法的著名更新规则是:
w = w - learning rate * dJ(w)/dw
b = b - learning rate * dJ(b)/db
此规则说明学习更快或更慢取决于两个特点,learning rate和derivative对所考虑的参数w或b的导数。这里集中讨论导数的概念。
这是什么意思?
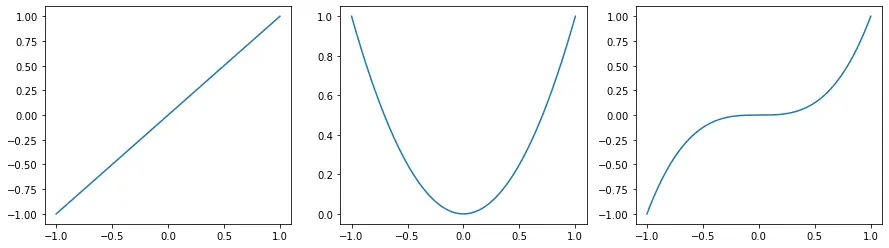
它表示函数的斜率,当导数的值很高时,函数变化很快,而当它接近0时,函数没有变化,这可能是神经网络环境中学习的一个问题。在这个例子中,我比较了一条直线、一条抛物线和一条双曲线。
# Define operations
# Define operations
x1 = torch.tensor([2.0], requires_grad=True).float()
z1 = x1
x2 = torch.tensor([2.0], requires_grad=True).float()
z2 = x2**2
x3 = torch.tensor([2.0], requires_grad=True).float()
z3 = x3**3
# Backward
# Backward
z1.backward()
z2.backward()
z3.backward()
# Print gradients
# Print gradients
print('dz1/dx1 evaluated in %f: %f' % (x1, x1.grad)) # dz1/dx = 2
print('dz2/dx2 evaluated in %f: %f' % (x2, x2.grad)) # dz2/dx = 2 * 2
print('dz3/dx3 evaluated in %f: %f' % (x3, x3.grad)) # dz3/dx = 3 * 4
与抛物线和双曲线相比,直线具有较小的导数,而抛物线和双曲线具有较高的值。可以观察到,抛物线的值是直线值的4倍,而双曲线的值是抛物线值的3倍,所以变化比抛物线快3倍。
05 单层神经网络
在神经网络中,数据集中的每个特征列都表示为一个输入神经元,而每个加权值表示为从特征列到输出神经元的箭头。我们将特征乘以权重,然后对它们求和,然后添加一个偏差并将其传递给激活函数。这样,我们就得到了网络的输出。
例如,如果我们有一个一行 10 列的输入向量,我们将有 10 个神经元。
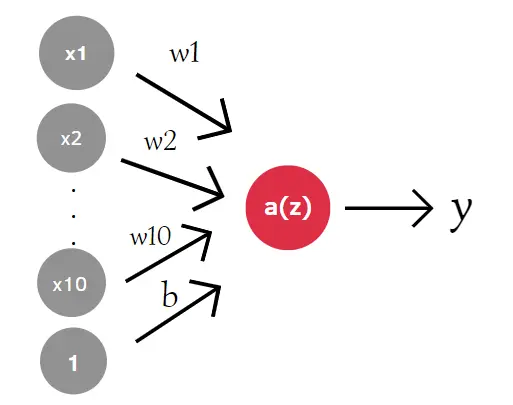
在数学上,它看起来像:
z = w₁ x₁ + … + w₁₀ x₁₀ + b
y = a(z) = a(w₁ x₁ + … + w₁₀ x₁₀ + b)
在代码中,我通过matmul函数创建了一个输入向量,该向量用于从均值为 0 且方差为 1 的正态分布创建填充随机数的矩阵。
加权矩阵将具有与输入相同的大小,但具有不同的值。偏差由正态分布的单个值组成。我们可以使用matmul在输入和权重之间进行矩阵乘法,然后我们可以应用激活函数sigm(称为 sigmoid)来映射 0 和 1 之间的任何值。
import torch
def sigm(x):
  return 1/(1+torch.exp(-x))
torch.manual_seed(7)
inputs = torch.randn((1,10))
w1 = torch.randn_like(inputs)
b1 = torch.randn((1,1))
output = sigm(torch.matmul(inputs,w1)+b1)
代码返回错误。当您训练神经网络时出现此类错误是很常见的。这是因为输入的列数不等于 w1 的行数。为了解决这个问题,我们需要改变权重的形状。在 Pytorch 中有三种方法可以做到:
w1.reshape(10,1) 返回一个新的张量,其数据与 w1 相同,但形状为 (10,1)
w1.view(10,1) 返回一个与 w1 具有相同数据和不同形状 (10,1) 的新张量。
w1.resize_(10,1)返回具有不同形状的相同张量 (10,1)
output = sigm(torch.matmul(inputs,w1.view(10,1))+b1)
print(output)
06 简单神经网络
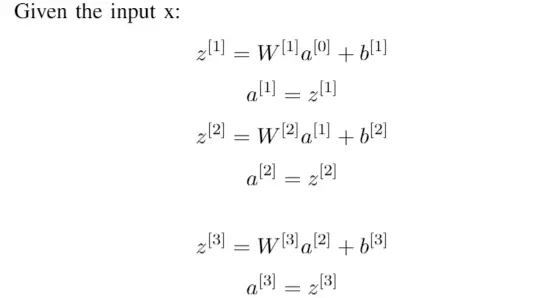
最简单的神经网络模型,称为全连接网络。一层中的每个神经元都与下一层中的每个神经元相连。
下面考虑的架构具有一个输出层、两个隐藏层和一个输出层。和以前一样,我们使用函数 获得输入、权重和偏差randn。我们不是只对一层进行计算,而是对每一层进行计算。
import torch
input_layer = torch.rand(10)
print(input_layer.shape)
#h1 contains 20 units
w1 = torch.rand(10,20)
b1 = torch.randn(20)
#h2 contains 20 units
w2 = torch.rand(20,20)
b2 = torch.randn(20)
#the output layer has 10 units
w3 = torch.rand(20,10)
b3 = torch.randn(10)
h1 = torch.matmul(w1.T,input_layer)+b1
print("First hidden layer:")
print(h1,"\n")
h2 = torch.matmul(w2.T,h1)+b2
print("Second hidden layer:")
print(h2,"\n")
output_layer = torch.matmul(w3.T,h2)+b3
print("Output layer:")
print(output_layer)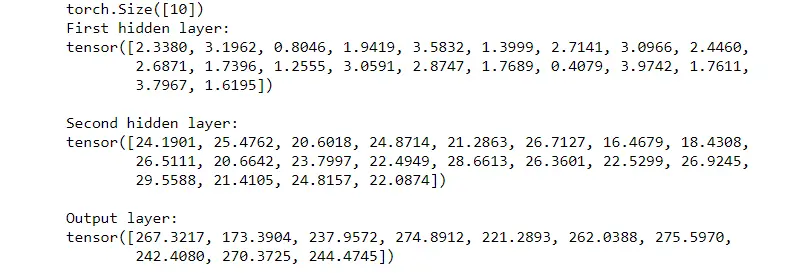
如何定义一个类,该类定义了 Network 并从nn.Module. 全连接层是通过 构建的nn.Linear(in_features,ou_features)。第一个参数是输入单元的数量,而第二个参数是输出单元的数量。
import torch
import torch.nn as nn

#class Net inherits from nn.Module
class Net(nn.Module):

   def __init__(self):
      super(Net,self).__init__()
      # nn.Linear(i,o) where i=# units in the current layer, o = # units in the next layer
      self.fc1 = nn.Linear(10,20)
      self.fc2 = nn.Linear(20,20)
      self.out = nn.Linear(20,10)
      def forward(self,x):
        x = self.fc1(x)
        x = self.fc2(x)
        x = self.out(x)
        return x input_layer = torch.rand(10)
      #instantiate model
      net = Net()
      result = net(input_layer)
      print(result)
文章中用到的代码在github:
https://github.com/eugeniaring/Pytorch-tutorial/blob/main/pytorch-for-beginners.ipynb
参考文档:
https://pub.towardsai.net/pytorch-tutorial-for-beginners-8331afc552c4#c495
如果发现教程里面有翻译错误问题
可以私聊学姐指出哈~
有任何学习上的问题都
可以来微信公众号练习学姐解决!

点赞转发,鼓励一下学姐!