

Mix Space图片展示:
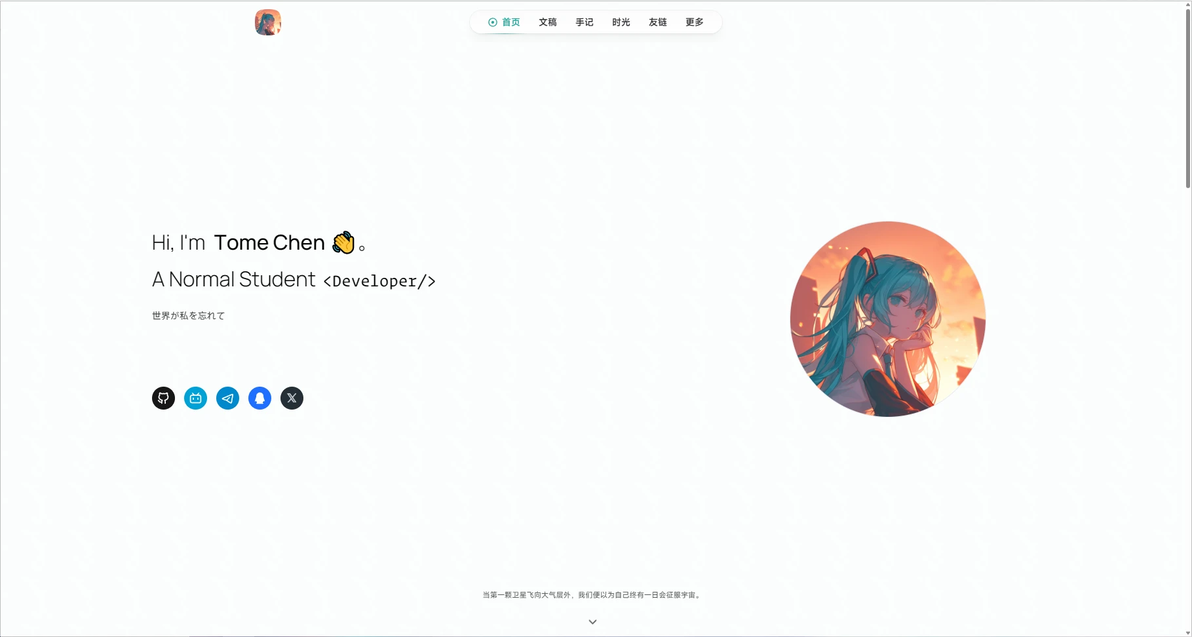
blog.nekotc.cn
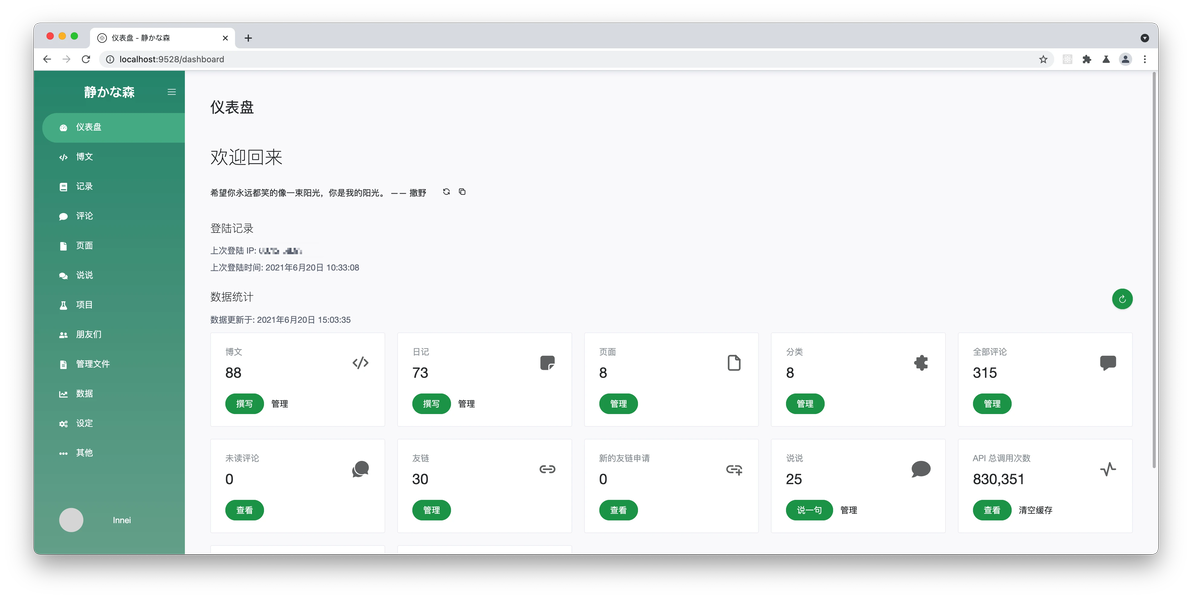
后端管理页面
Part 0 - 服务器
此教程由雨云提供计算
服务器本人推荐使用雨云服务器,可使用1元试用一日
下文使用雨云美国洛杉矶2c4g服务器演示
Part 1 - 准备工作
安装环境:
使用SSH工具连接到服务器
Docker:
 curl -fsSL https://get.docker.com | bash
apt install docker-composeNode JS:
 curl -fsSL https://deb.nodesource.com/setup_20.x | sudo -E bash -
sudo apt-get install -y nodejsRedis:
apt install redisGit:
apt install gitGit LFS:
 curl -s https://packagecloud.io/install/repositories/github/git-lfs/script.deb.sh | sudo bash
sudo apt-get install git-lfsMongoDB:
首先,确保你的包是最新的。打开终端并输入:
继续安装 MongoDB:
最后输入下面的命令,来确定MongoDB是否运行
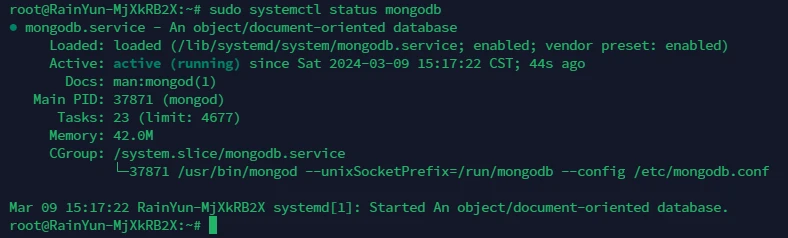
这样就是在运行了
Part 2 - 后端安装
注:Mix Space不像Typecho、WordPress之类的博客系统,Mix Space的前端和后端分离
在此,我们需要首先安装Mix Space Core
使用Docker:
从仓库获取
mkdir /opt/mx-space
mkdir /opt/mx-space/core
cd /opt/mx-space/core
wget https://raw.githubusercontent.com/mx-space/core/master/docker-compose.yml随后在core根目录下创建.env文件
vim .env按i后输入以下内容:
# 随便写,要求 16≥ 字符串 ≥32
JWT_SECRET=
# 允许的域名,指的是你的前端域名,用","分开
ALLOWED_ORIGINS=随后按下ESC,输入:wq
回到终端后,输入
docker compose up -d

完成后,给一张免费ssl证书,然后反向代理127.0.0.1:2333
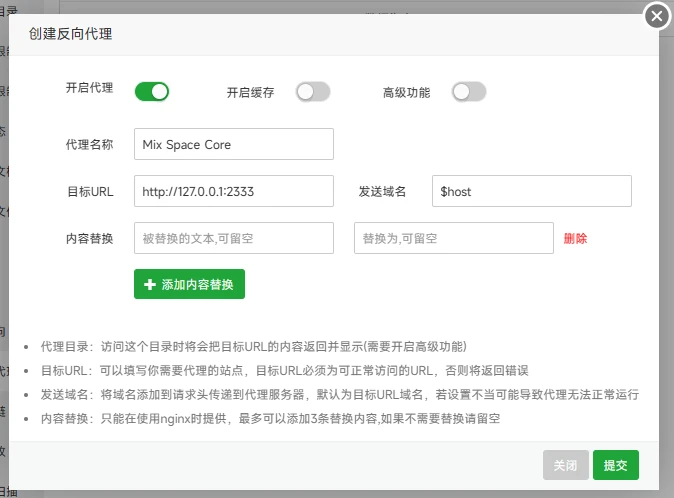
此处使用宝塔面板
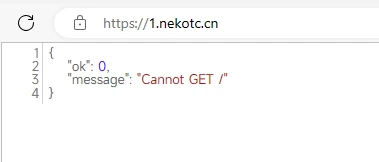
访问后,如果是这样,则成功
访问https://[你的域名]/proxy/qaqdmin来进入后台面板

红框位置改为前端(你站给人看的地址)
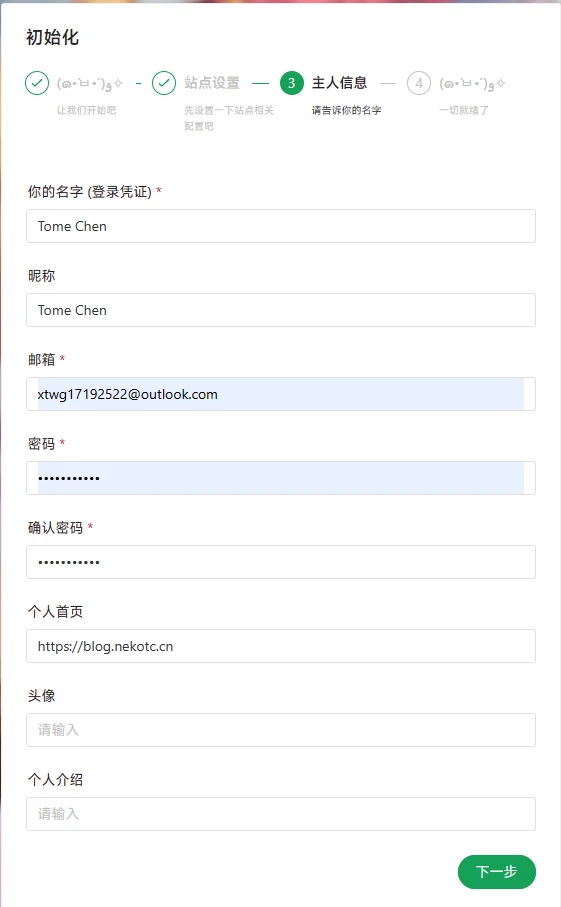
下一步 - LINK START
后端安装结束
Part 3 - 前端安装(Shiro)
前提:
在 Shiro 主题中需要用到 Clerk,所以需要去 Clerk 官网(https://clerk.com)注册一个账号 注册完之后控制台点击

名字任意,然后Creat
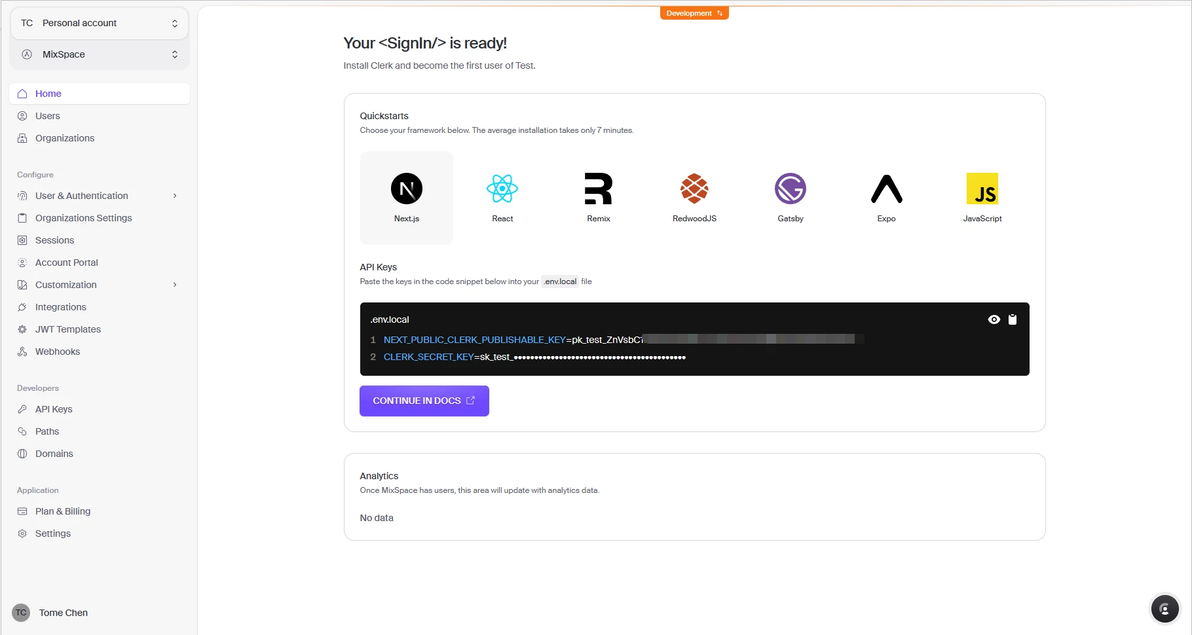
完成之后找到这些,把这两个东西保存好,请勿泄露
后端配置:
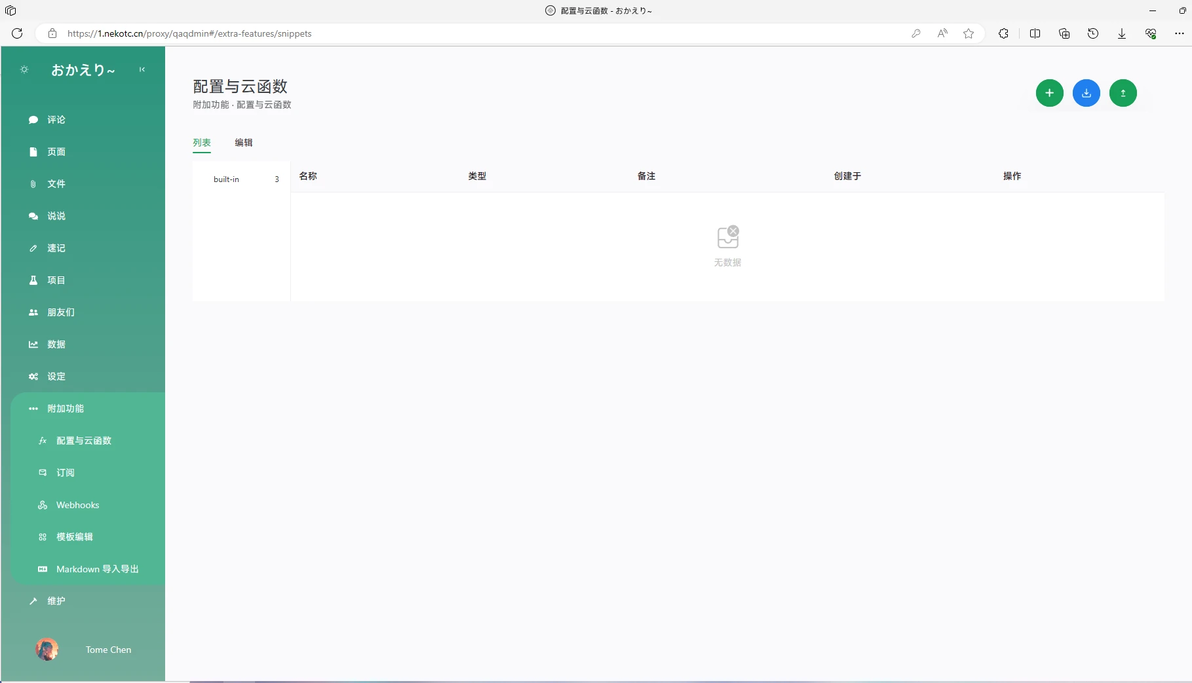
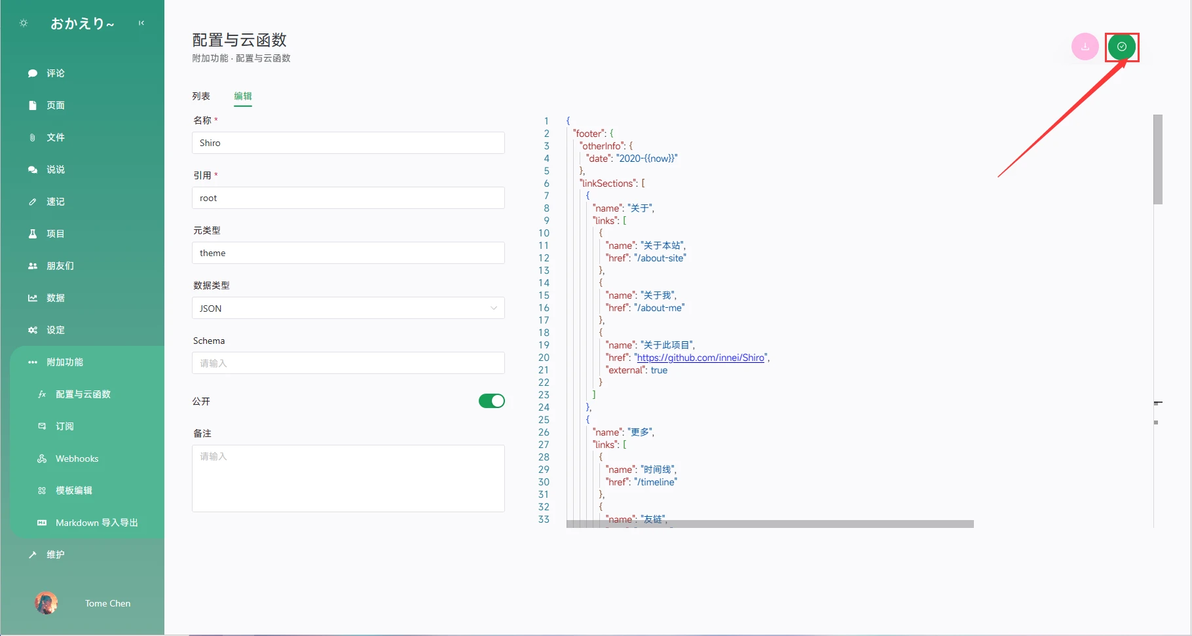
进入后台-附加功能-云函数
点击上面的 "+" 号
然后名称填写 ,引用填写 ,数据类型选 内容根据以下内容修改后覆盖到右边的框框中
{
  "footer": {
    "otherInfo": {
      "date": "2020-{{now}}"
    },
    "linkSections": [
      {
        "name": "关于",
        "links": [
          {
            "name": "关于本站",
            "href": "/about-site"
          },
          {
            "name": "关于我",
            "href": "/about-me"
          },
          {
            "name": "关于此项目",
            "href": "https://github.com/innei/Shiro",
            "external": true
          }
        ]
      },
      {
        "name": "更多",
        "links": [
          {
            "name": "时间线",
            "href": "/timeline"
          },
          {
            "name": "友链",
            "href": "/friends"
          }
        ]
      },
      {
        "name": "联系",
        "links": [
          {
            "name": "写留言",
            "href": "/message"
          },
          {
            "name": "发邮件",
            "href": "mailto:wibus@qq.com",
            "external": true
          },
          {
            "name": "GitHub",
            "href": "https://github.com/wibus-wee",
            "external": true
          }
        ]
      }
    ]
  },
  "config": {
    "site": {
      "favicon": "/wibus.jpg"
    },
    "custom": {
      "scripts": null,
      "styles": null
    },
    "hero": {
      "title": {
        "template": [
          {
            "type": "h1",
            "text": "Hi, I'm ",
            "class": "font-light text-4xl"
          },
          {
            "type": "h1",
            "text": "Innei",
            "class": "font-medium mx-2 text-4xl"
          },
          {
            "type": "h1",
            "text": "👋。",
            "class": "font-light text-4xl"
          },
          {
            "type": "br"
          },
          {
            "type": "h1",
            "text": "A NodeJS Full Stack",
            "class": "font-light text-4xl"
          },
          {
            "type": "code",
            "text": "<Developer/>",
            "class": "font-medium mx-2 text-3xl rounded p-1 bg-gray-200 dark:bg-gray-800/0 hover:dark:bg-gray-800/100 bg-opacity-0 hover:bg-opacity-100 transition-background duration-200"
          },
          {
            "type": "span",
            "class": "inline-block w-[1px] h-8 -bottom-2 relative bg-gray-800/80 dark:bg-gray-200/80 opacity-0 group-hover:opacity-100 transition-opacity duration-200 group-hover:animation-blink"
          }
        ]
      },
      "description": "An independent developer coding with love."
    },
    "module": {
      "donate": {
        "enable": true,
        "link": " https://afdian.net/@Innei ",
        "qrcode": [
          " https://cdn.jsdelivr.net/gh/Innei/img-bed@master/20191211132347.png ",
          " https://cdn.innei.ren/bed/2023/0424213144.png "
        ]
      },
      "bilibili": {
        "liveId": 1434499
      }
    }
  }
}记得改里面的内容!!!!
改完后点击右上角保存
部署:
Vercel:
进入https://github.com/innei/Shiro
Fork这个仓库到自己账号下
进入Vercel-New Project,选择刚才Fork的仓库
等待构建
本地:
首先Fork仓库
然后在终端输入
cd /opt/mx-space
git clone https://github.com/Innei/Shiro.git
cd Shiro然后
vim .env按i后输入
# 你的API地址
NEXT_PUBLIC_API_URL=
# 你的API域名
NEXT_PUBLIC_GATEWAY_URL=
# CLERK 公钥
NEXT_PUBLIC_CLERK_PUBLISHABLE_KEY=
# CLERK 私钥
CLERK_SECRET_KEY=
# OpenAI Key(不多说了,自己看着整吧)
OPENAI_API_KEY=按ESC后输入:wq保存退出
然后输入
npm install -g pnpm
pnpm i
pnpm build
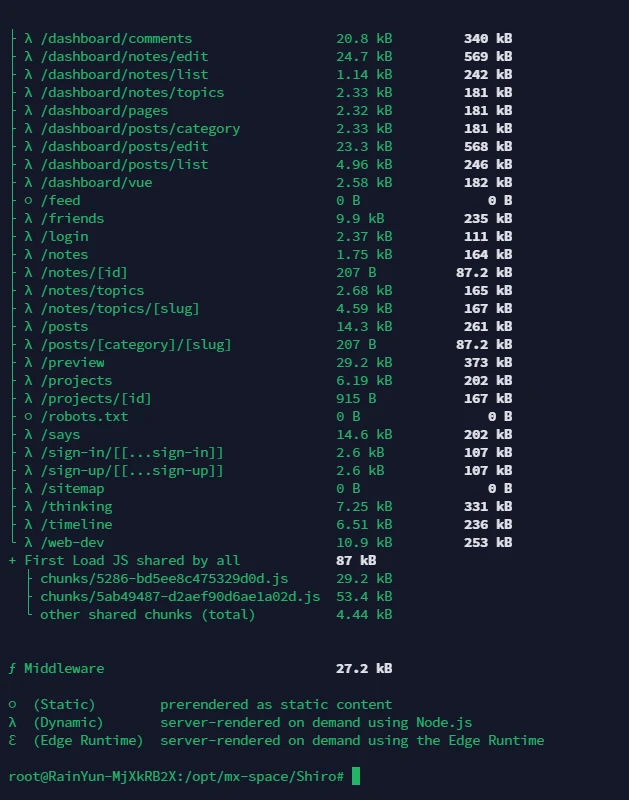
这样就是跑完了
我们把它作为系统服务启动
vim /etc/systemd/system/mx-shiro.service然后输入以下内容
[Unit]
Description=MX-Space Shiro Theme Daemon
After=network.target

[Install]
WantedBy=multi-user.target

[Service]
Type=simple
WorkingDirectory=/opt/mx-space/Shiro
ExecStart=npx next start -p 2323
Restart=always使用以下命令启动
systemctl enable mx-shiro
systemctl start mx-shiro反向代理http://127.0.0.1:2323
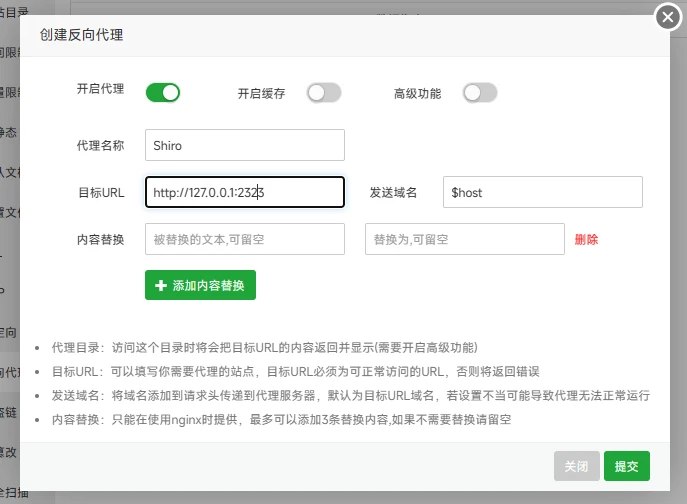
添加-访问前端网址-Enjoy!
