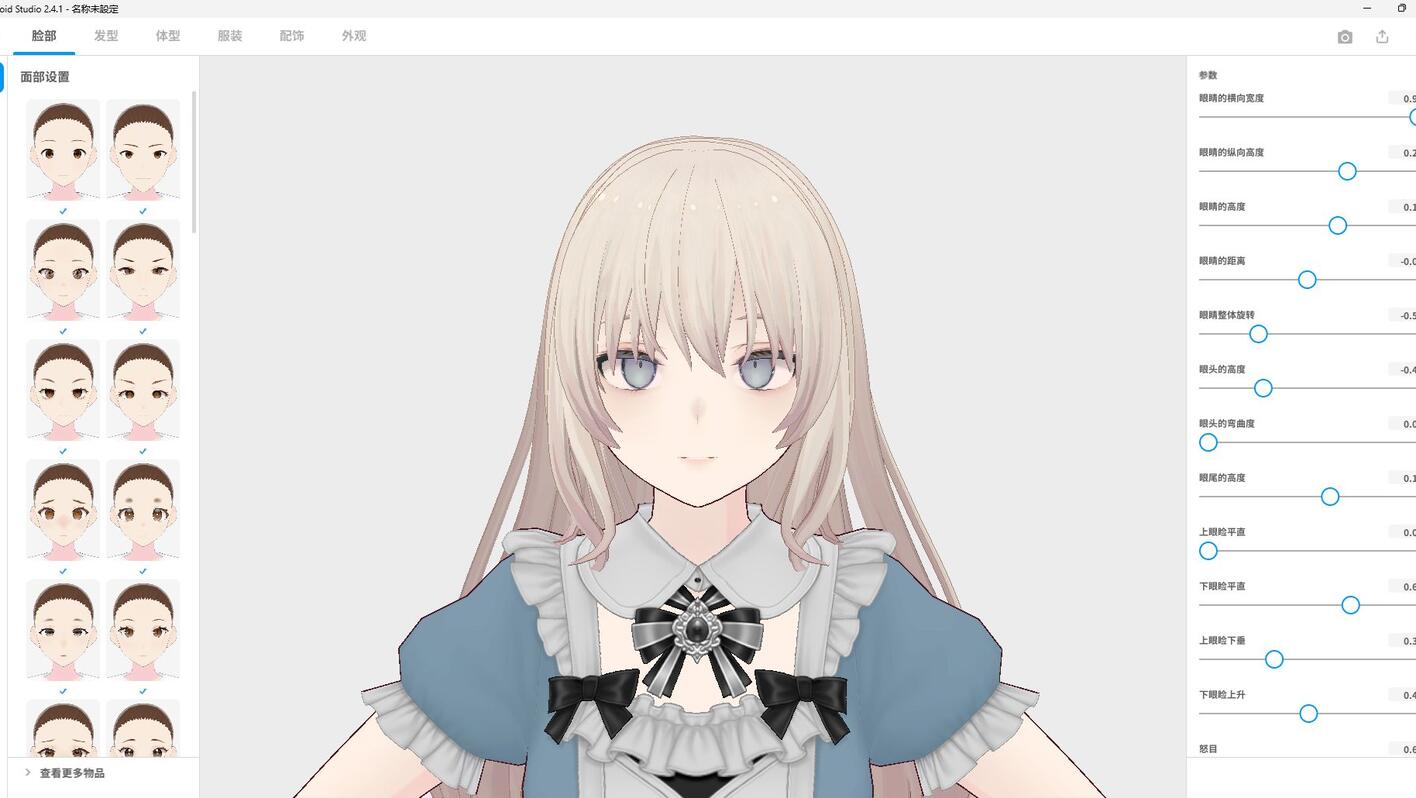

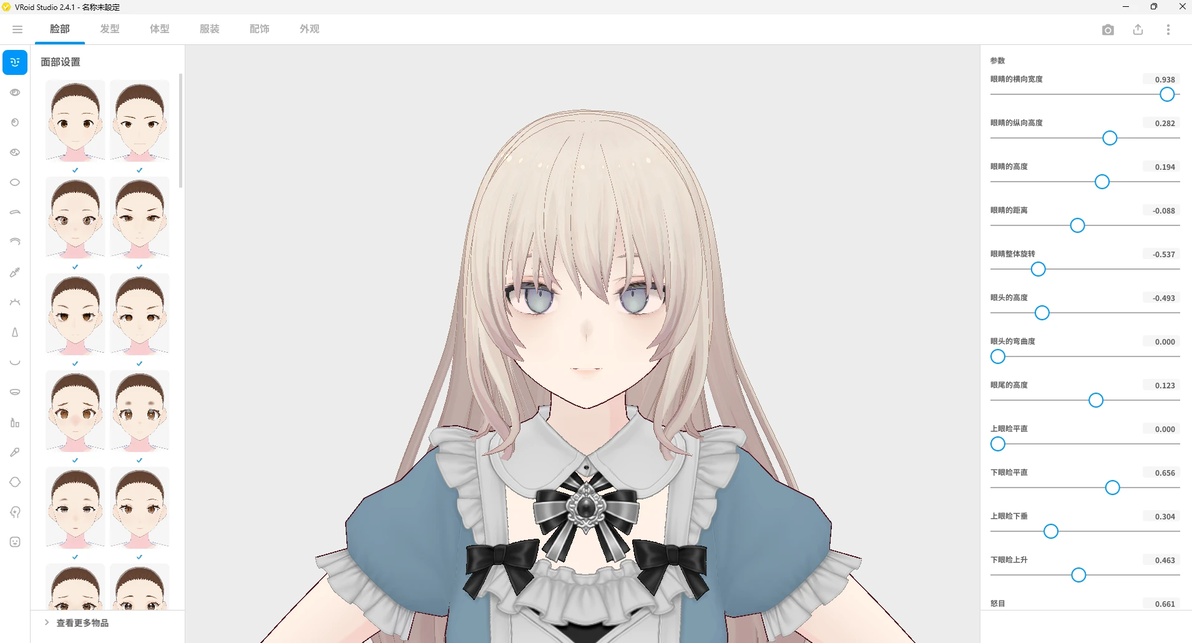
补丁
折腾一中午,还是回归使用BepInEx+XUnity.AutoTranslator,将日语翻译为中文,关闭了Bepinex的控制台,看起来更整洁。借用AutoGeneratedTranslations源于BV1hn6nYHEzB,完成后关闭了翻译api
使用前建议备份原软件,以免造成损失。本补丁教程仅供参考。
汉化补丁DL
https://wwzk.lanzouo.com/b016kb632b
密码:23h2
把补丁里的文件全部扔进去。
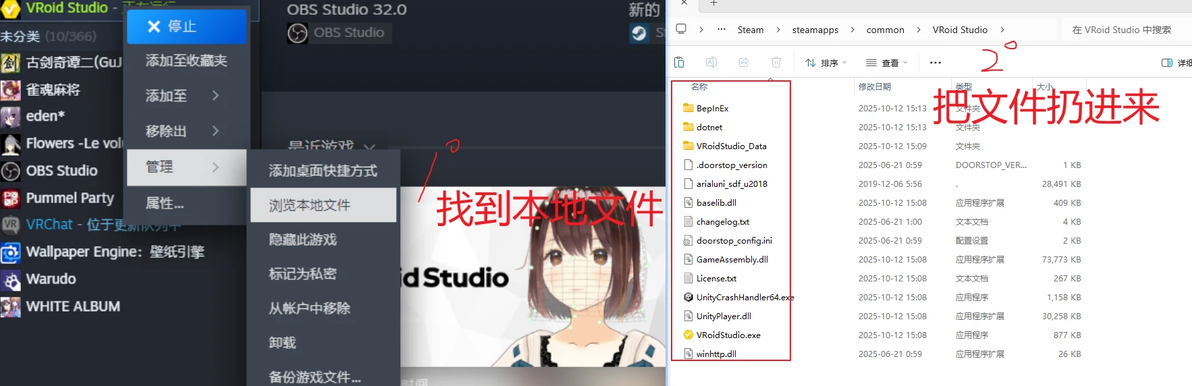
下面回归教程
如何汉化vroid
使用BepInEx框架+XUnity.AutoTranslator自动翻译
1、下载vroid
steam下载。
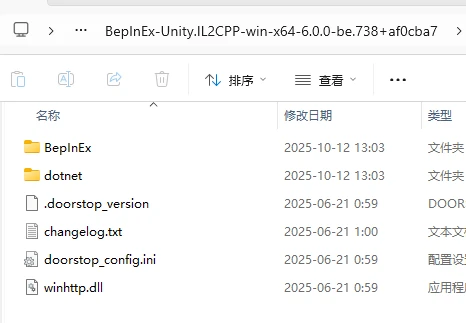
2、下载BepInEx
https://builds.bepinex.dev/projects/bepinex_be
选择IL2CPP-win-x64,如果是mac就选IL2CPP-macos-x64
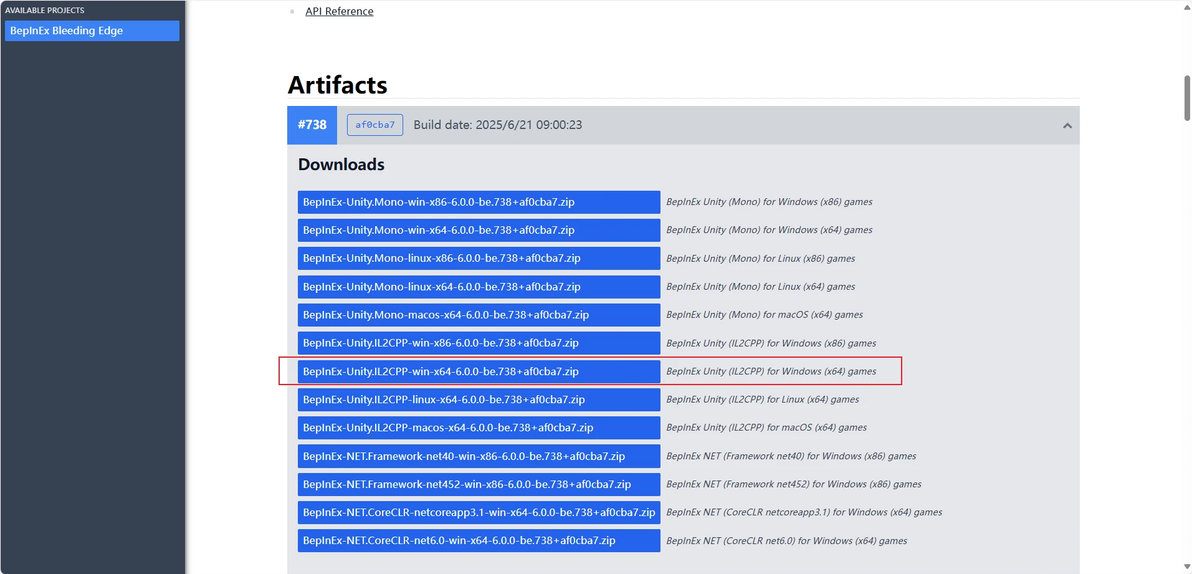
解压,把这些文件直接扔到vroid的文件夹里
3、下载XUnity.AutoTranslator
https://github.com/bbepis/XUnity.AutoTranslator/releases
对应好IL2CPP
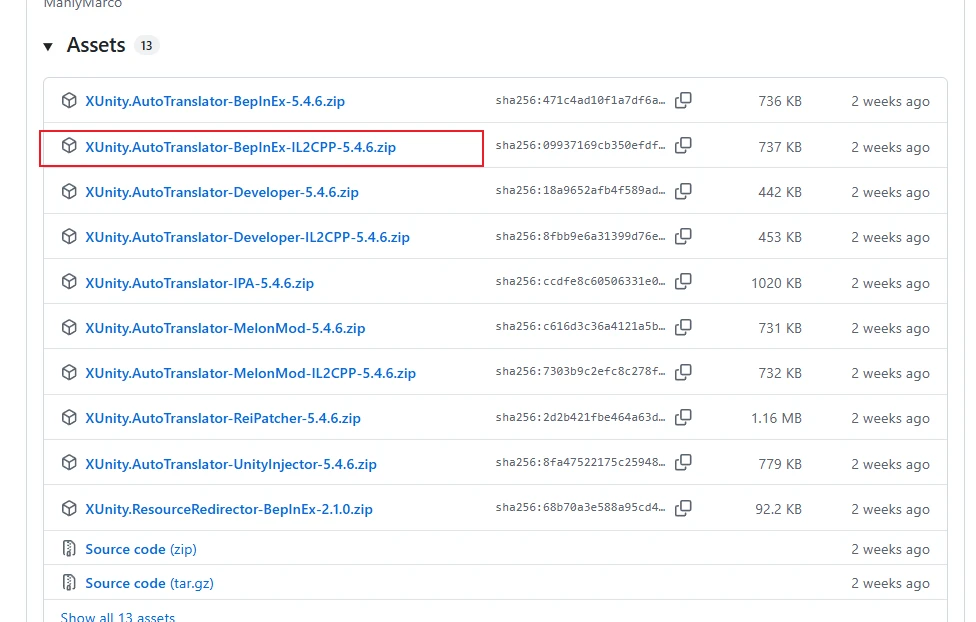
解压后扔到vroid文件夹内。
4、运行vroid
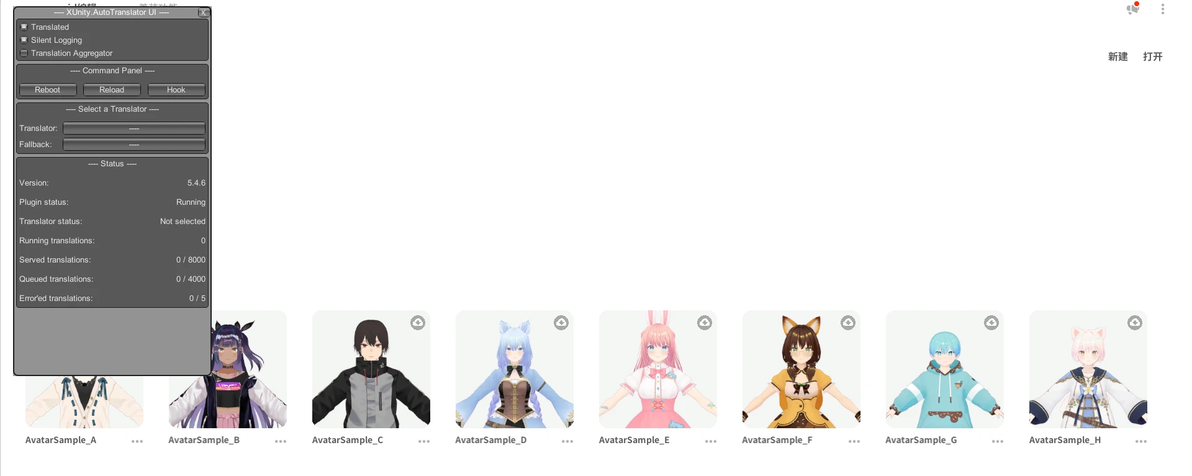
进入界面后按alt+0,如果能呼出这个界面说明安装对了。第一次运行时会额外下载些东西,启动较慢。
5、申请百度翻译api
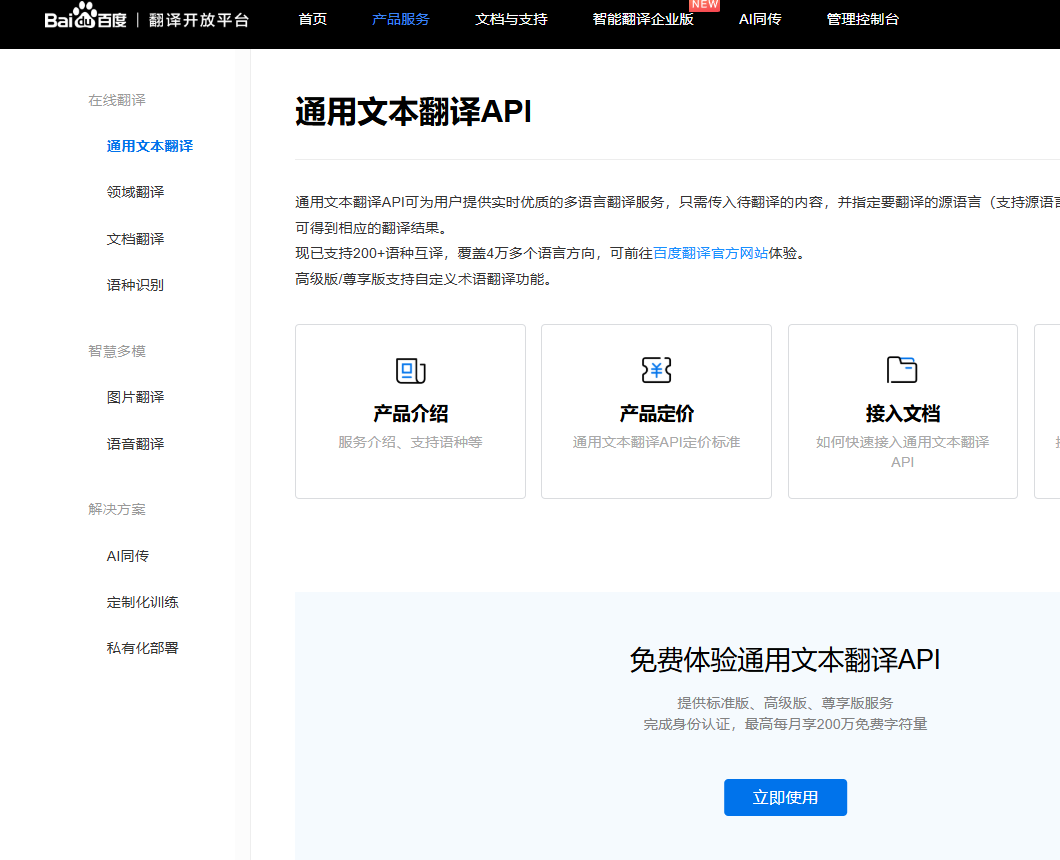
https://api.fanyi.baidu.com/
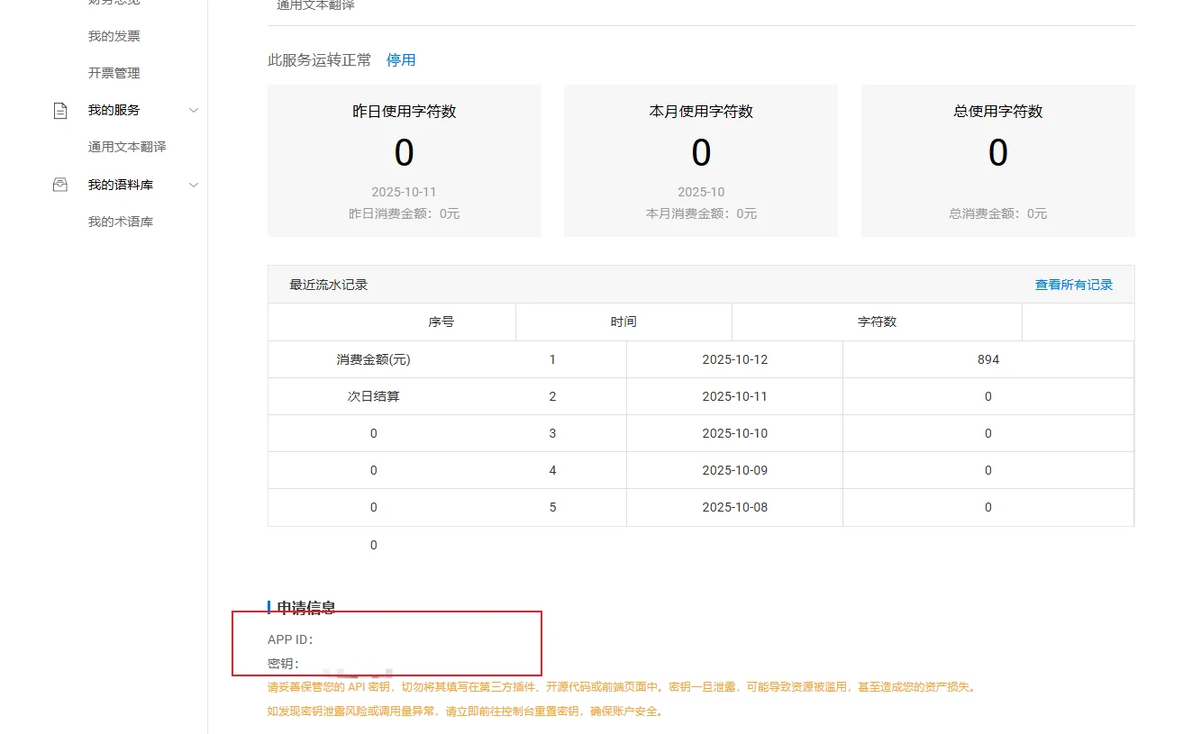
在产品服务,申请通用文本api,个人免费版即可
申请好后,在右上角,个人信息里,即可找到个人app id和密钥
6、配置
打开\BepInEx\config\AutoTranslatorConfig.ini
用notepad--或者记事本,vscode都可以
如下更改
[Service]
Endpoint=BaiduTranslate
[General]
Language=zh
FromLanguage=ja
110行
[Baidu]
BaiduAppId=你的app id
BaiduAppSecret=密钥
DelaySeconds=1
7、进入vroid
进入界面,等待翻译。它会一点一点自动翻译。
翻译好的文本在\BepInEx\Translation\zh\Text
_AutoGeneratedTranslations.txt
如果你懒得等,可以借用别人翻译过的txt进行替换
