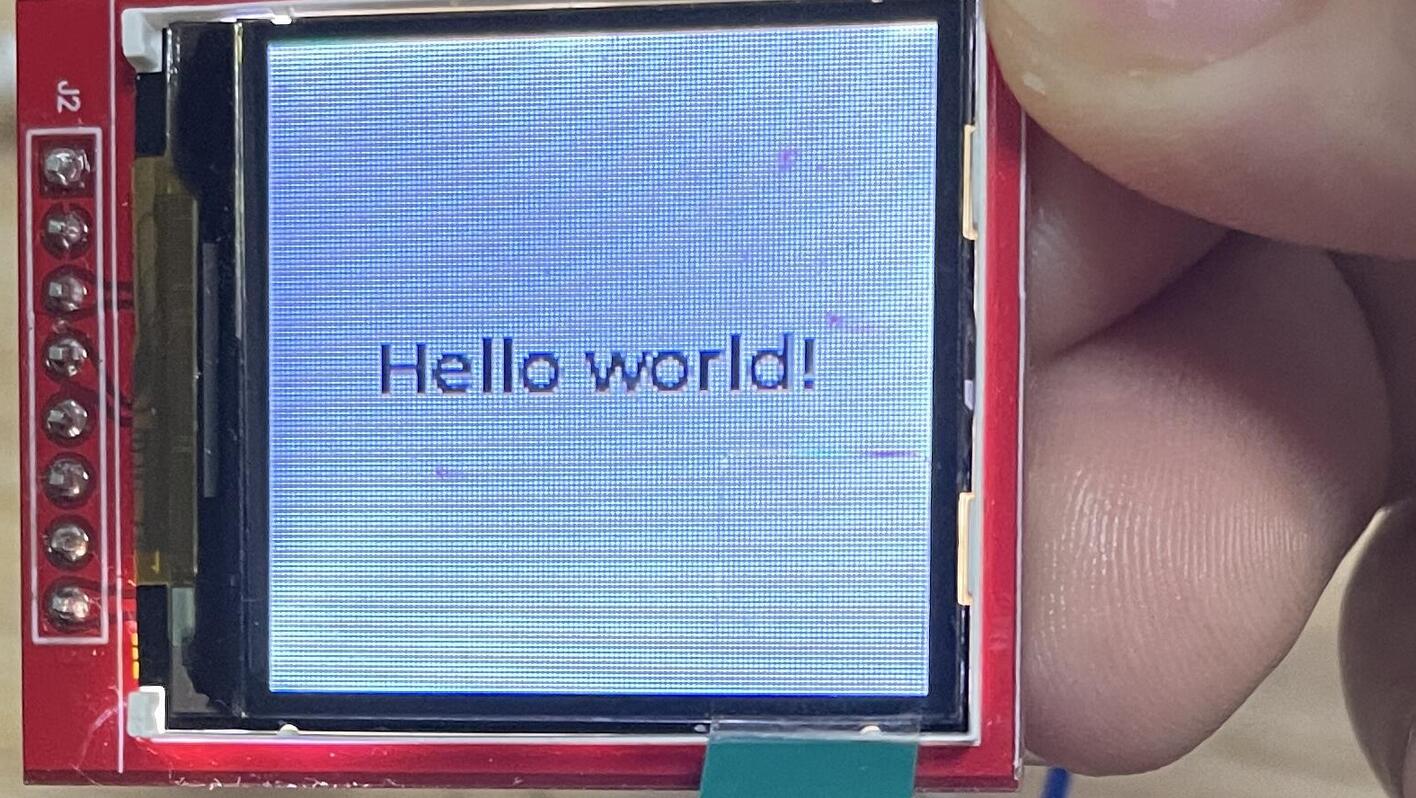

1 两种方式将库加入PlatformIO
1、在PlatformIO库中直接搜索Lvgl添加到工程

2、在github下载、添加进工程文件
[GitHub - lvgl/lvgl: Powerful and easy-to-use embedded GUI library with many widgets, advanced visual effects (opacity, antialiasing, animations) and low memory requirements (16K RAM, 64K Flash).](https://github.com/lvgl/lvgl)

2 修改文件名
lvgl_config_template.h修改为lvgl_config.h
#if 0 改为1

这时候就可以编译了
3 移植显示驱动
首先添加TFT_eSPI库
下载最新的库GitHub - Bodmer/TFT_eSPI: Arduino and PlatformIO IDE compatible TFT library optimised for the Raspberry Pi Pico (RP2040), STM32, ESP8266 and ESP32 that supports different driver chips
放入工程文件中、这里放入lib文件夹(放到其他地方也可以)
定义彩屏引脚

剩下的spi引脚是esp32默认的
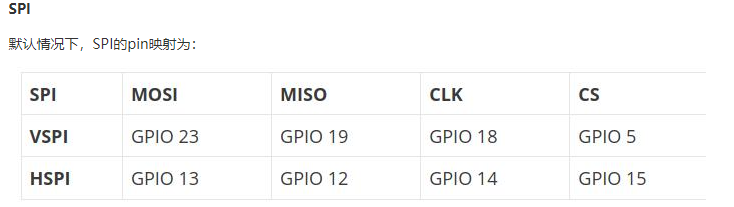
这里注意如果不接RST将其设为-1、此时一定要把屏幕rst引脚接到高电平3.3V、否则不接为低电平、会一直保持复位状态、屏幕不亮
配置文件修改
在User_Setup_Select.h文件中取消注释你需要的驱动文件

修改此处(我这个彩屏需要、别的也许不需要修改)

移植驱动
参考arduino例程 位置:\lvgl\examples\arduino\LVGL_Arduino
去掉触摸部分只移植显示部分
最后是这样
没有再另外定义宽度高度、直接用了tft库中的TFT_WIDTH...
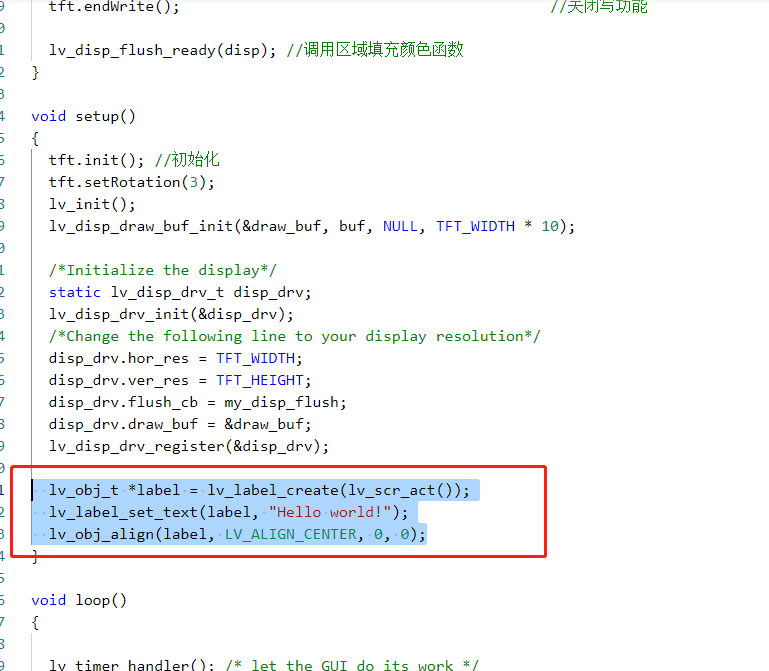
#include <lvgl.h> #include <TFT_eSPI.h> static lv_disp_draw_buf_t draw_buf; //定义显示器变量 static lv_color_t buf[TFT_WIDTH * 10]; //定义刷新缓存 TFT_eSPI tft = TFT_eSPI(); /* Display flushing */ void my_disp_flush(lv_disp_drv_t *disp, const lv_area_t *area, lv_color_t *color_p) { uint32_t w = (area->x2 - area->x1 + 1); uint32_t h = (area->y2 - area->y1 + 1); tft.startWrite(); //使能写功能 tft.setAddrWindow(area->x1, area->y1, w, h); //设置填充区域 tft.pushColors((uint16_t *)&color_p->full, w * h, true); //写入颜色缓存和缓存大小 tft.endWrite(); //关闭写功能 lv_disp_flush_ready(disp); //调用区域填充颜色函数 } void setup() { tft.init(); //初始化 tft.setRotation(3); lv_init(); lv_disp_draw_buf_init(&draw_buf, buf, NULL, TFT_WIDTH * 10); /*Initialize the display*/ static lv_disp_drv_t disp_drv; lv_disp_drv_init(&disp_drv); /*Change the following line to your display resolution*/ disp_drv.hor_res = TFT_WIDTH; disp_drv.ver_res = TFT_HEIGHT; disp_drv.flush_cb = my_disp_flush; disp_drv.draw_buf = &draw_buf; lv_disp_drv_register(&disp_drv); lv_obj_t *label = lv_label_create(lv_scr_act()); lv_label_set_text(label, "Hello world!"); lv_obj_align(label, LV_ALIGN_CENTER, 0, 0); } void loop() { lv_timer_handler(); /* let the GUI do its work */ delay(5); }
这里放自己的代码
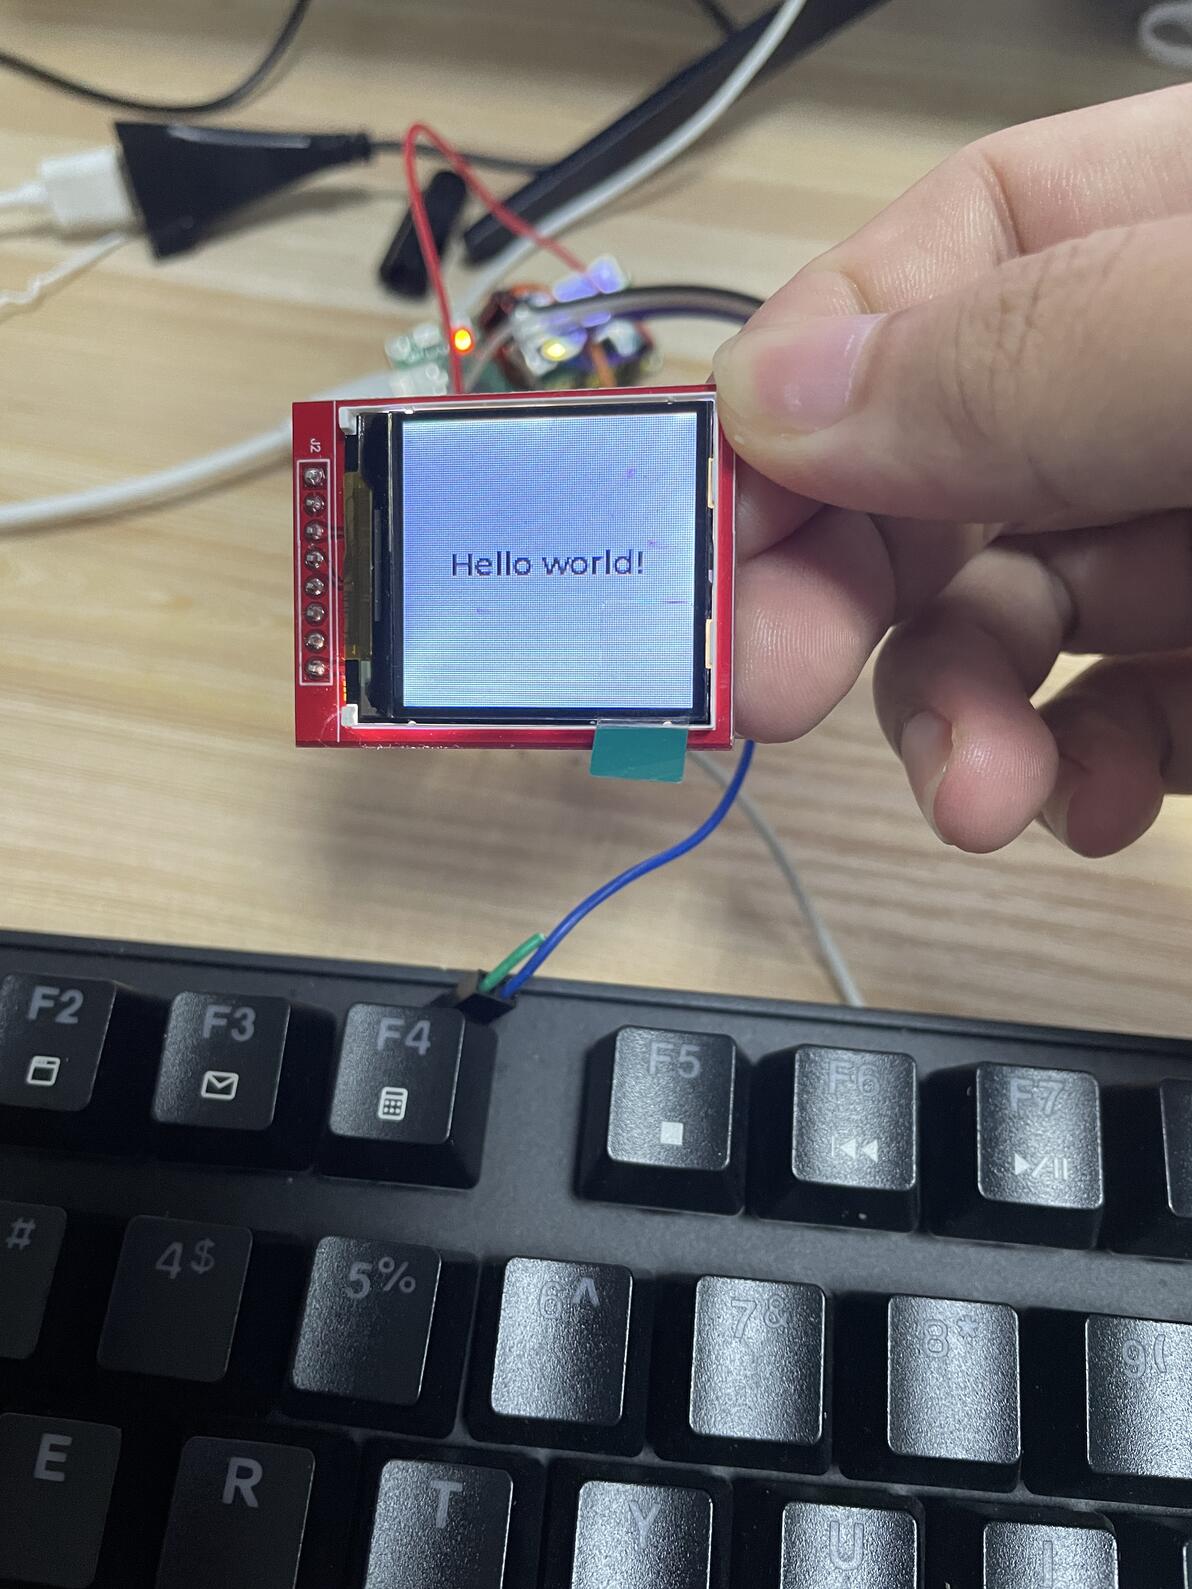
文件下载
